How Much Should My Company Budget For Filming A Television Commercial

VIDEO PRODUCTION COSTS?

So you're thinking of making television, YouTube, or Facebook commercials and want to know how much it costs? We get this question nearly every week. The short answer is "it depends." Your needs, tastes, and many other factors determine a TV commercial production cost. So the short answer is that producing a TV commercial could easily range anywhere from $1,500 to $150,000 depending on many different variables. 

START SIMPLE

My business doesn't have much advertising budget. Can you still help? Again, the short answer is "probably so ." Your competitors have launched a YouTube or Facebook campaign, and now you are seeing their spots on local television. Producing content that can compete with your competitors may seem out of reach, but there are steps you can take right away that will make an impact on your bottom line. For example, if you are a small business and need to get a 30 second TV spot under your belt to quiet the competition, we can help. The cost to produce a 30-second commercial could run you as little as $1,500 – $3,500. Simple video productions with text, graphics, royalty-free music, and a professional voice-over could be the short answer to your initial goal.

LEVEL UP

Still asking: How much do commercials cost to produce? Lets' look at an example of leveling up your production a few notches. Let's say you have a product or service that can make you millions. If only you could put together a 30-second direct response campaign that can air on television. You may need actors, a makeup artist, a pro video crew, maybe a studio and a director, and a few other things. More prominent commercials like this with all the bells and whistles can easily cost you anywhere from $100k or more. But tell me this, what business owner out there wouldn't trade a $100,000 investment for a $1M return? I don't know a single one that would turn down an opportunity like that. 

The cost of producing a television commercial in this price range is much more than the START SIMPLE example above because there are so many more moving parts. Among other things, you will need seasoned professionals at every turn to help keep all of the balls in the air. A professional video production company like ours will help manage your TV commercial from beginning to end so that everything makes sense when we wrap up the shoot.

IMG_4981.jpg

BUDGET ISN’T A CONCERN?

Hypothetically you tell me that budget is not a concern for you. However, you have particular needs and discerning taste and are willing to pay whatever the cost. In situations like this, production costs are not your concern; you will need to tell us precisely what you want. Then it's our job to craft that desire into reality. Similar projects can easily fetch anywhere from 150k up to well over 1 million dollars. These high-end costs will depend on a well-known director attached, a celebrity or famous athlete, or an influencer from another industry. The price can balloon north of that, depending on what is attached to the scope.


SEND US A REFERENCE VIDEO

Costs almost always depend ultimately on what you want. So, if your question is "how much does it cost to produce a tv commercial" but you aren't sure what you want, consider this. It can be beneficial to surf through YouTube and look for similar video concepts that already exist. Reference material like this will give us a much clearer idea of your concept, enabling us to put together an estimate based on that reference video quickly. That said, you can always feel free to give me a call, and we can walk through the process together. My studio line is 573-893-9917, and I'm always happy to chat and give you a free estimate.


HOW MUCH DOES TV ADVERTISING COST?

So you have your finished commercial, now - how much does TV advertising cost? TV airtime costs are the golden question to which there are a plethora of answers. For example, the airing of a 30-second commercial can range anywhere from $50 per spot to $1,500 or $20,000 per spot. But, of course, as I've said two or three times already, it all depends on a few different variables.

Where your TV Advertising is going to air will ultimately determine how much your advertising will cost. For example, suppose your TV Advertising target market is toward regional or local markets. In that case, you could spend as little as $50 per 30-second commercial.


I AM INTERESTED IN KNOWING HOW MUCH IT COSTS TO AIR LOCAL COMMERCIALS

Take this example and suppose you want to Advertise on a local station in a 65,000 household footprint close to your business. In that case, you likely can get better rates than a broader coverage area. The only caveat is that your TV Advertising will only be aired and viewed in that particular area or zone.

However, suppose you want to reach more areas with your message during a primetime broadcast network TV program. Time slots like this can be upwards of $10,000 plus per 30 second TV spot in that case. The main stipulation here is that you will be broadcast on every TV within the selected coverage and reap the benefits of a much broader coverage area.


LOOKING AT NATIONAL TV?

If local TV advertising isn't enough to reach, you may want to spread your message to the masses; and national television is the way to go. Keep in mind that a single 30-second spot can cost you anywhere from $25,000 to $150,000. Depending on the network and the timeslot in which your commercial airs, the costs will range. Want to go for broke? A commercial aired during the Super Bowl, you can look to spend an astonishing 4 to 5 million for a single 30-second commercial. Whether you want a local television spot for your business, service, or product, or you want to reach the masses with your message, it's all possible. But first, you have to create the commercial, and that's where we excel. The creative. Not sure where to begin? Lets' look at several budget examples below, which will help you gain a better "ballpark" estimate for your next project. 


HERE ARE SOME EXAMPLE BUDGETS TO HELP YOU GET STARTED THINKING ABOUT WHERE YOUR PROJECT MIGHT FALL IN TERMS OF COST:


• BUDGET RANGE  $800 – $1,000

This budget allows for a commercial is made up of still photographs, a professional voice-over, and client-provided artwork.

• BUDGET RANGE  $1,500 – $2,500

This budget allows for a commercial for many small businesses and includes royalty-free music and a voice-over.

• BUDGET RANGE   $2,500 – $3,500

This budget allows for a commercial shot on location with one talent, HMU, professional voice-over, and other voice actors.

• BUDGET RANGE   $2,500 – $3,500

This budget allows for a commercial testimonial-style commercial to promote your systems, products, or services and includes an animated logo at the end.

• BUDGET RANGE   $3,500 – $5,500

This budget allows for a commercial production shot in 1 or 2 locations in full HD, with a four-person crew, using a drone to capture the clients' work in progress. In addition, one professional voice-over and audio bed licensing included in this budget range. 

Screen Shot 2021-07-06 at 3.08.34 PM.png

• BUDGET RANGE   $6,500 – $9,000

This budget allows for a commercial shot over two days, with a three-person film crew, including HMU, craft, and catering. We can use some professional actors, mixed with faculty and staff as our talent.

• BUDGET RANGE   $10,000 – $15,000

This budget allows for a commercial in several locations around the city, filming with a 4-5 plus talent crew and some extras: minimal graphic animations, titling, and sound effects. 

Screen Shot 2021-07-06 at 3.11.09 PM.png

• BUDGET RANGE   $10,000 – $20,000

This budget allows for commercial filming ample B-Roll and on-location "Talking Head" segments over two days. Will will work closely with our client to secure locations and talent if needed. We use a 4-5 person crew, which allows for a professional audio person/drone pilot, director, camera operator, and key grip.

• BUDGET RANGE   $20,000 – $30,000

This budget allows for a commercial in a studio or on location over two days. We are using a 4-6 person crew, which allows for a professional audio person/drone pilot, director, camera operator, and key grip. Additionally, this budget range allows time for filming ample B-Roll and on location with "Talking Head" segments over two days. It's common practice for us to always work closely with our clients to secure shoot locations and talent if needed. Graphic animations, music bed licensing, finished in both HD and 4k formats. 

Screen Shot 2021-07-06 at 3.22.54 PM.png

• BUDGET RANGE   $30,000 – $40,000

This budget allows for a commercial in different cities (or a single major city) across the US. In addition, we use several HD cameras to capture raw emotions from the unsuspecting participants.

• BUDGET RANGE   $40,000 – $50,000

This budget allows for a commercial in several cities. Each of our crew members follows specific creative instructions to get the right shot. Thus, securing permits for multiple locations and coordinate seamlessly with our freelance teams across the globe to ensure the appropriate look & feel for the client brand.

• BUDGET RANGE   $50,000 – $60,000

This budget allows for filming at several locations out of state, including a complete casting, with actors, craft services/catering, HMU, wardrobe, location scouting, art department, and several pre-production meetings. In addition, approximately a 10-15 person production crew.

• BUDGET RANGE   $60,000 – $90,000

This budget allows for filming in a large city out of state, including a complete casting, professional actors, craft services/catering, HMU, wardrobe, location scouting, art department, and several pre-production meetings. As always, productions of this size require permits and a boatload of pre-production planning and coordinating to pull the job off seamlessly and effectively.

IMG_1078.JPG

WHAT IS THE AVERAGE COST OF TV COMMERCIAL PRODUCTION?

The total costs of producing a television commercial can range significantly based on many different factors. Therefore, we're highlighting the cost expectations for various commercials based on length, production value, and other elements. In doing so, this should aid you in better understanding what you can expect for average costs of TV commercial production and what kind of situations you might encounter. Bear in mind, commercial advertising is costly but also highly effective and tends to have a substantial ROI. So as you visualize these average costs, try to imagine the ROI you may achieve with a professionally produced television ad.

PRODUCTION CREW AVERAGE COSTS

One of the greatest determinants of the overall cost of making a TV commercial is the crew size and experience. The larger and more experience your crew has will play a huge role in the expenses involved in production. A large crew will have higher costs than a small crew would. Similarly, an experienced crew will likely charge more per hour or per day than a crew with little to no experience. Below is a few industry averages crew rates look like: (keep in mind these all range on skill & experience as well as geographic location)

  • Director $2500 - $4000 day (or 5-10% of the total budget)

  • Director (Larger Name) $5000 - $10k day

  • DP $1200 - $1800 day (or more depending on skill & experience)

  • 1st Assistant Camera $600 - $800 day

  • 2nd AC $350 - $500 day

  • Gaffer $550 - $800 day (plus gear if needed, $1000 - $4000)

  • Producer $800 -$1000 day

  • DIT (Digital Technician) $700 day (plus gear if needed, $500 - $1500 range)

  • Audio Technician $650 - $1000 (plus gear if need, $350 range)

  • Steadicam Op $1800 - $2200 day with gear

  • Drone Operator / Pilot $1500, $3000 & $4500 day (depending on gear)

  • HMU (Hair & Make Up) $400 - $1200 day

  • Script Writer $50 – $150 p/h

  • Editor $95 – $175 p/h

  • Actors $100 -$500 p/h

  • Equipment – up to $100s p/h

  • Studio Shooting – up to $400 p/h

  • Narrator – >$100 – $400 p/h

  • Audio Files – up to $ 1000's

  • Video Rendering – up to $75 p/h

  • B-Roll – generally speaking, between 10 and 50% of your total production cost to go towards B-Roll

  • Miscellaneous – can cost very little, up to 1000's extra


THE LENGTH OF YOUR COMMERCIAL DOES NOT DICTATE PRICE

Another significant cost factor is the total length of your commercial. A television spot that is 30 seconds in length will almost always cost less than a commercial of similar production quality that is longer in duration. However, a 30-second spot likely can be created somewhere between $1,500 and up to $150K, which is an enormous spread. These budgets are so far apart that determining the average cost of a TV commercial based on its length may feel next to impossible. That's why length is seldom an excellent overall price determinant when evaluating what your project may end up costing.


PRODUCTION COMPLEXITY

One of the other significant determinants of total production cost is not the length or size of the crew but also complexity. What this refers to is how complex is it to create a specific concept for the client? An elaborate production is sure to have higher costs than something straightforward and basic. On the other hand, simple video productions will almost certainly require fewer resources, fewer variables for success, and an average lower cost. Compare this to a commercial shoot that includes intense animations or visual effects. Again, you will see a significant disparity in the price. If you're trying to cut costs, consider fewer VFX!

30 SECOND COMMERCIAL PRICING

The pricing of a 30-second commercial is mainly dependent on who produces the commercial and what style of production the finished project is. For example, a commercial with numerous special effects and animated graphics can easily elevate the production value. Still, it will likely cost more than the average $1,000 to $10,000 per finished minute. As a result, graphics and special effects, and animations can lead to substantially higher prices in general.

Commerical styles and production values can range significantly. For example, a simple commercial that showcases a particular restaurant but doesn't require a remarkable narrative or any significant graphic elements and special effects can likely cost around $750 to $1,500. However, think about some of the commercials shown during the Super Bowl. These ADS often have advanced storylines, intricate graphics, and other special effects that are incredibly impressive – and incredibly expensive.

COMMERCIAL COST DETERMINANTS

When you ask almost anyone in the creative industry, "How much does it cost to make a 30-second commercial?" They are likely to say, "well ... it depends." I bet nine times out of 10 that will be the answer you get. And it does depend. The cost of filming and producing commercials for broadcast depends on many different factors such as:

• Filming location

• Equipment needs

• Production value (quality)

• Post-production editing

• Talent

Screen Shot 2021-07-06 at 3.26.44 PM.png


PRODUCING VIDEO FOR TELEVISION

Producing video for the television advertising space requires professional equipment, experience, and expertise. From the early planning stages, a lot goes into the process. Pre-production meetings are where the original idea is crafted and then refined through the post-production stages. During editing and post-production, specialized techniques come into play. Finally, many professional hands work on your project before finishing for distribution. So how much does it cost to make a 30-second television commercial? Well, various factors influence the cost of making TV commercials. Time is one component that affects the price, but so does the location, production value, equipment, the production crew, and the list goes on and on. Professional video production may easily range from about $500 to well over $50,000 for 30 seconds.

AVERAGE COST OF A TELEVISION COMMERCIAL

To summarize, the average cost of TV commercial production ranges from about $1,200 per minute to somewhere north of $100,000. Typical commercials in the markets our studio serves are generally in the neighborhood of $1,500 to $20,000 for most projects. So, when planning your next Television, YouTube, or Facebook commercial spot, give me a call to help you navigate and make a high-performing commercial for your brand. 

Travis Duncan Photography | Advertising • Corporate • Motion

Web - www.travisduncan.com

Studio - 573-893-9917

Instagram

Twitter

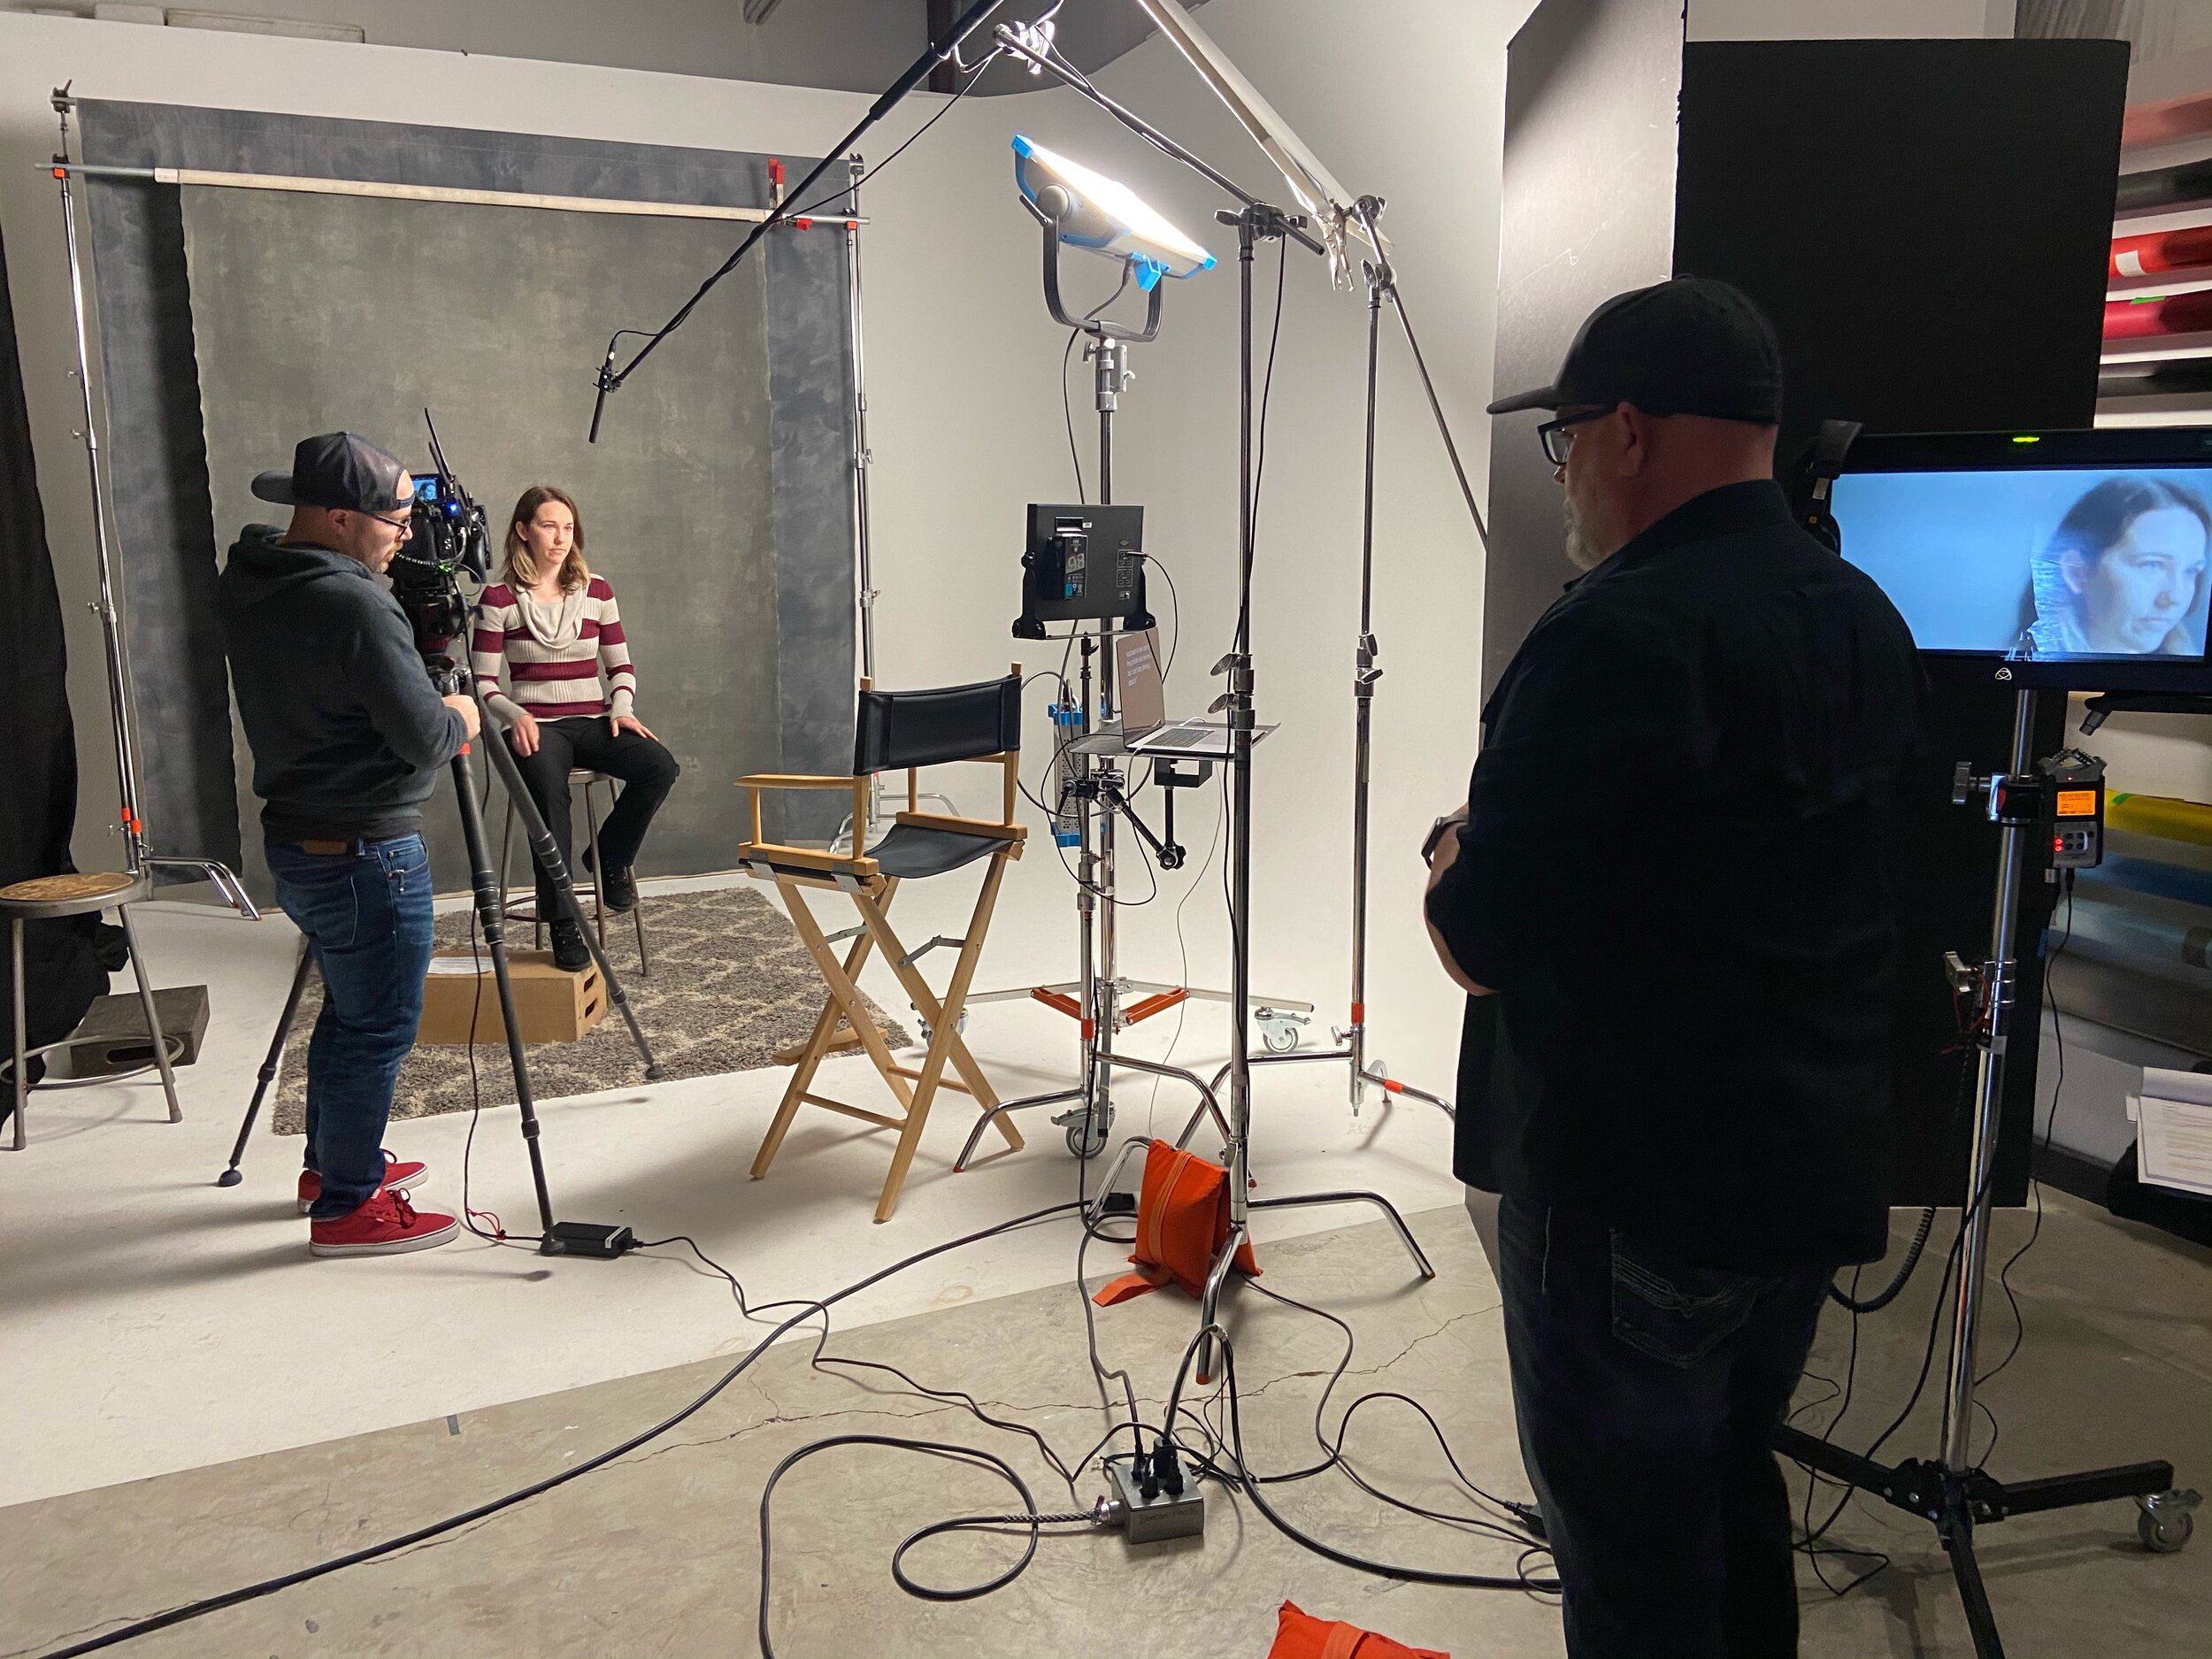
Behind the Scenes: Filming a Commercial

Here at the studio and on location, we do so much more than just still photography. You may or may not know that we are also a full service video production company with a focus on helping businesses and non profits, make videos that tell their stories in an engaging and informative way. In addition to video production, we have the unique ability to provide you with a full suite of commercial photography capabilities (not to mention our amazing facilities), as well as video marketing productions, live productions, and even live streaming events.

Read More

Hiring a Product Photographer In The Digital Shopping Age

We all know Amazon is filled with thousands and thousands of products, all vying for the same consumer attention. So then, you might ask yourself, how can I offer something genuinely unique that my competitors don't? The answer really can be as simple as hiring out custom product photography. To truly make your mark, your commercial product photography and graphic design should be distinctive from your competitors but also be on-brand with your company identity. When you decide to use a custom photography studio, it means there is something inherently original about your brand that competitors cannot copy and will set you apart from the crowd.

Do your research on your competitor's packaging when designing your own. This upfront homework will give you insights on current trends and designs, putting you in a better position to create something that stands out from the rest. Product photography, lifestyle photography, typography, color, packaging shape, design, and materials can be great ways to differentiate yourself and your brand.

Original Product Photo

Original Product Photo

Finished Package Design (Screenshot from Amazon)

Finished Package Design (Screenshot from Amazon)

Consider Hiring a Pro

Travis Duncan Photography specializes in superior product photography for eCommerce, print advertising, and digital campaigns. Our studio promises to bring individualized attention to your project while also bringing cutting edge concepts, fresh ideas, and techniques, and also years of industry expertise to the table.​ We are located in the Mid-West and are always budget conscious, dependable, extremely knowledgeable, and offer expert photo retouching for projects of all sizes.

Whether you need a small tech gadget photographed or a large piece of industrial equipment, we offer high resolution imaging that genuinely brings your product to life. In today's digital economy, the main listing image is the first and most important chance you have to present your product and brand in the best way possible. With this in mind, we go above and beyond in our product photography studio to produce images that sell our clients' products every time.

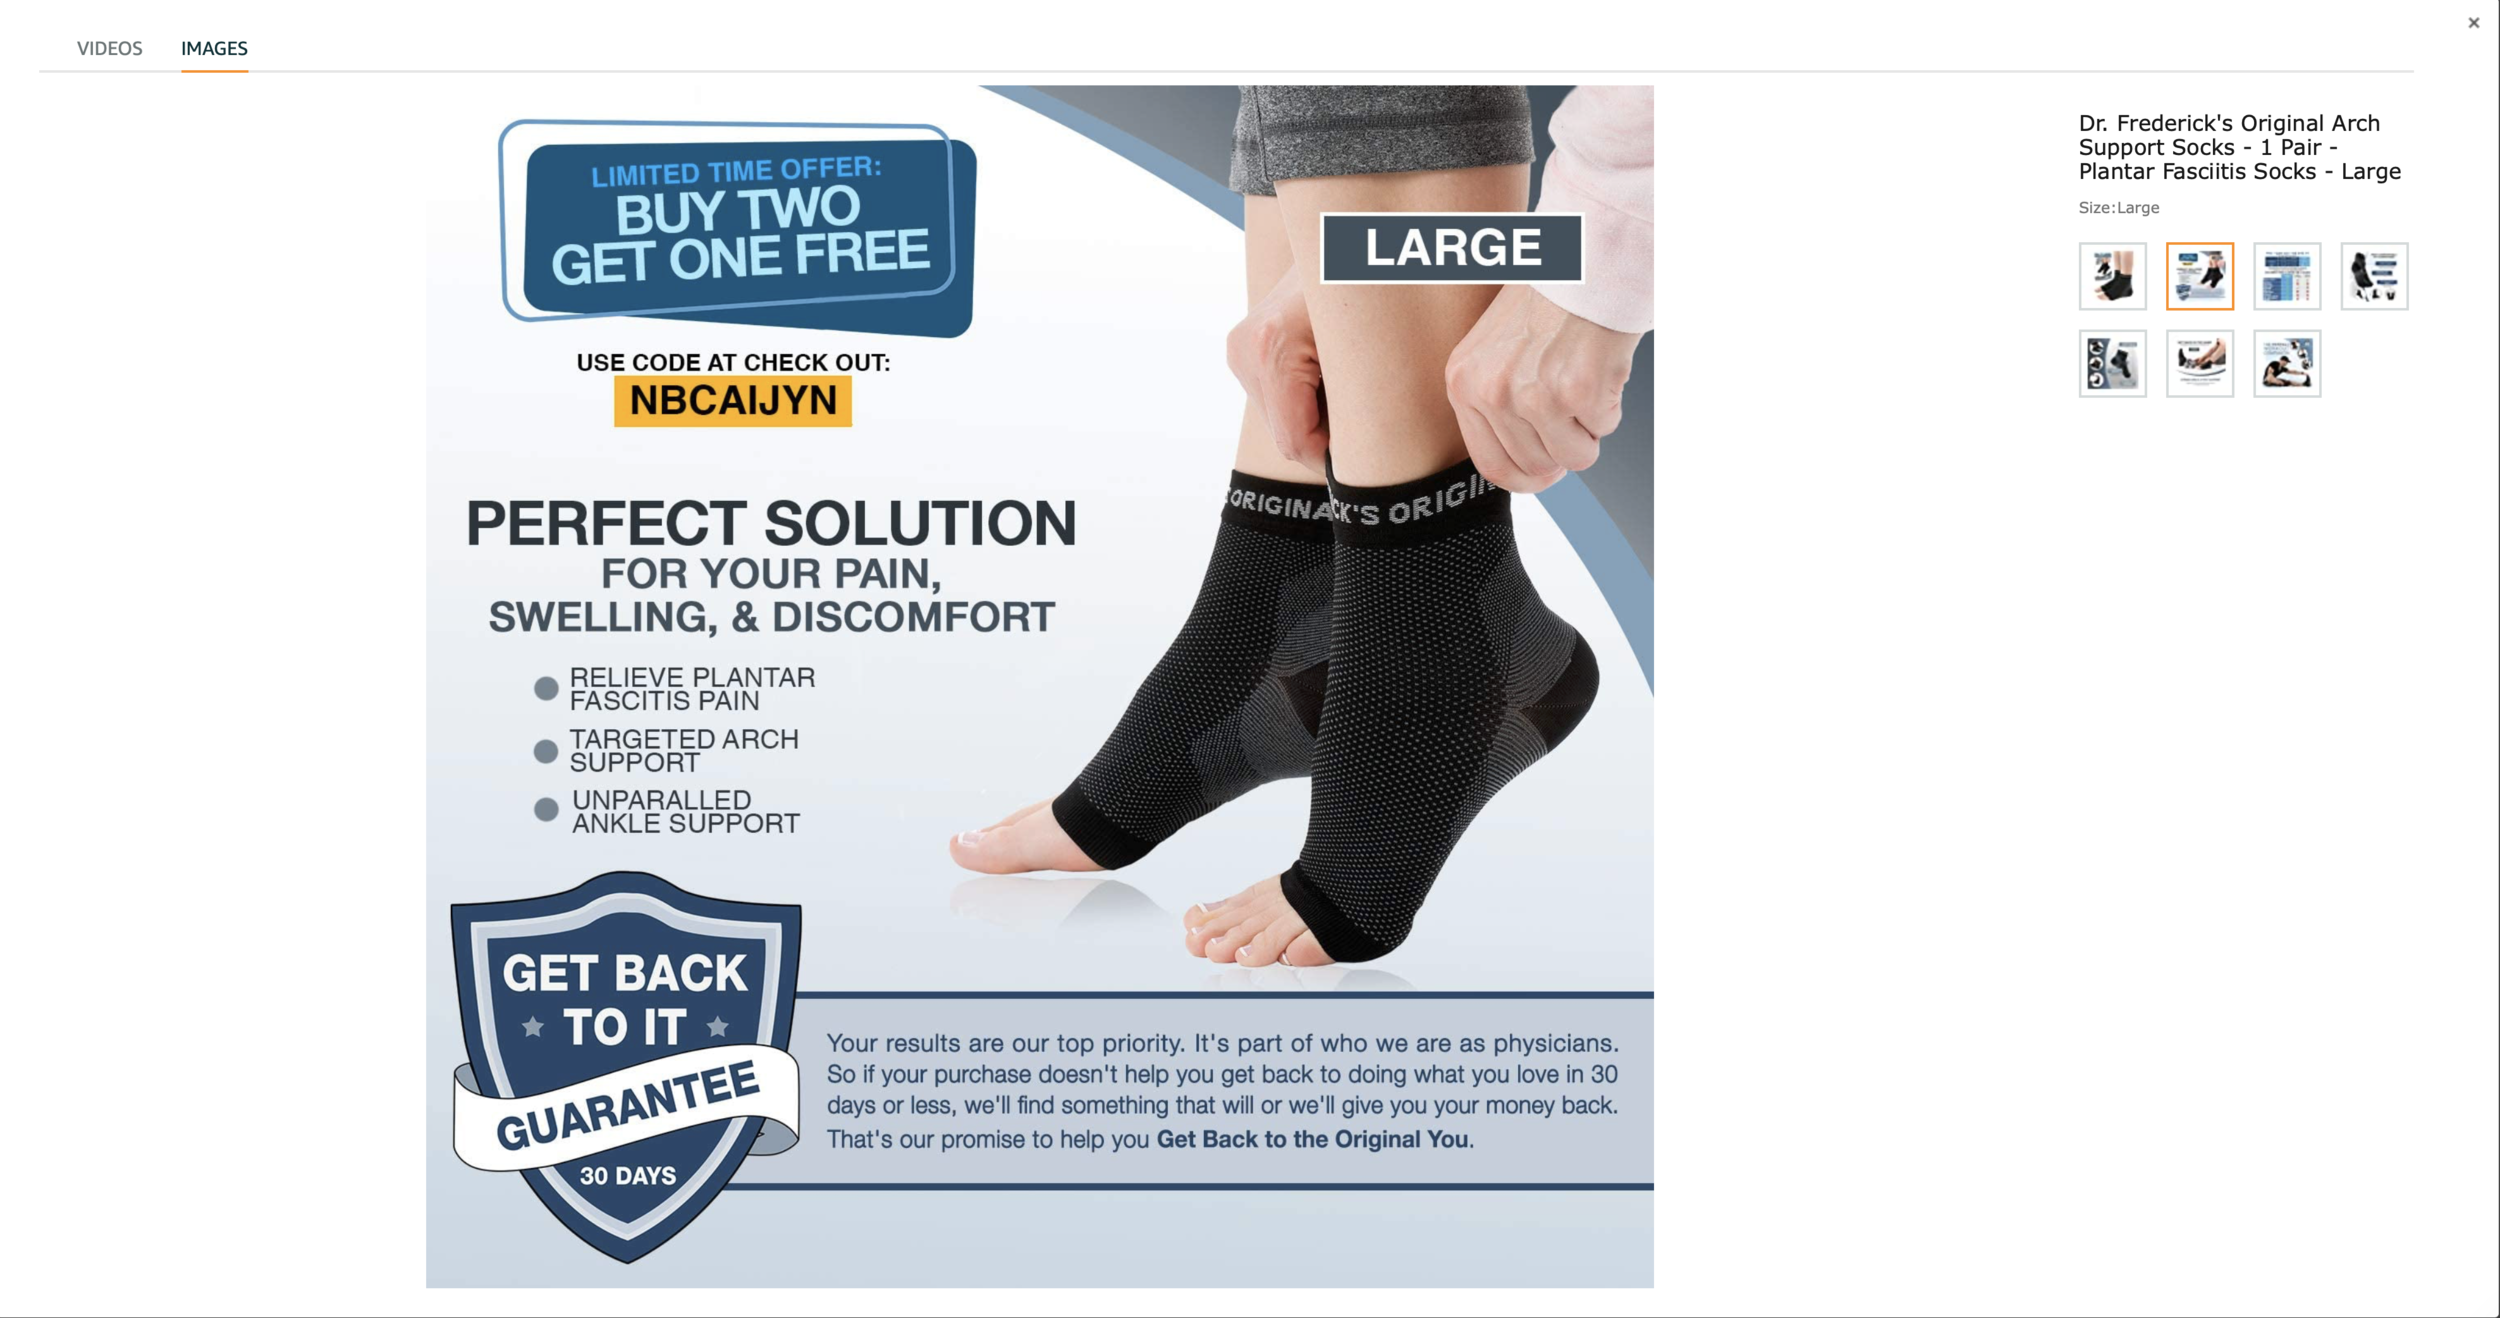
The hero photo (or main image) on your Amazon listing must have a white background and fill 80% of the image area with no distracting elements. Some sellers may get away with graphics, but many times their product listing will get ranked much lower in the search results. Our studio will shoot white background images right here in our Central Missouri studio with professional studio lighting equipment and masterful technique to ensure a premium listing of your product. We begin by preparing and cleaning your products before they even make it onto the set. Some times this only requires a few minutes, while with other jobs it can take more than a day or two in prepping your items. After principle photography has wrapped, we will then edit & retouch all client selects for any blemishes, dust, fingerprints, or smudges for a "larger than real life" finished photo that is ready for publishing on your listing, digital campaign, and in print. If you're looking for pure product photography for selling your products online, call today for a free custom estimate.

Finished Package Design (Screenshot from Amazon)

Finished Package Design (Screenshot from Amazon)

©TravisDuncan0052-Edit.jpg

First Impressions Matter

Photos are a central and critical part of any online shoppers' decision-making and will ultimately affect your sales percentages. Having high-quality product photography reflects your brand image, creating the infamous first impression. Data shows, it takes the average shopper less than 19 seconds to decide whether or not they are going to buy a product, and for the majority of shoppers it is less than a 10 second decision. This fact means that most likely, shoppers are not carefully reading through your product bullet points and description at first. Most likely, they are making their initial purchasing decision by scrolling through your product photos. 

This short time frame puts a lot of responsibility on your product photography and packaging to communicate your product's key benefits and convince consumers to buy inside that 20 second window. You don't have the time to clutter your packaging with long blocks of copy or extraneous content. Be clear about your product, and do so in a concise, eye-catching way.  

Brands have found many creative techniques for communicating in simple, yet engaging ways. For example, pull quotes are a unique mechanism for featuring product benefits, consumer reviews, and other brand messages. Think about similar techniques you can use to explain your product and tempt the consumer to purchase quickly. Yes, this is a challenge. But when done well, it can send your sales through the roof. The most critical step is to make sure the shoppers' first impression is impactful and to present a polished, professional product photograph, and clean design that evokes maximum engagement.

Finished Package Design (Screenshot from Amazon)

Finished Package Design (Screenshot from Amazon)

Original Photography

Original Photography

Another excellent method to distance yourself from your competition online is by creating unique lifestyle photography that will showcase your product in a real-world scenario. Many stock images today are quite good, but at the same time, have become somewhat synonymous with cheap Chinese knockoff brands. These companies simply don't have the budget or desire to create high-quality custom lifestyle & studio photography with real models, giving you the opportunity to set your brand apart with custom product photography. There is simply no better way to get shoppers to visualize how their life will improve through owning your product, than by showcasing your product in a lifestyle setting.

Finished Package Design (Screenshot from Amazon)

Finished Package Design (Screenshot from Amazon)

Original Photography

Original Photography

Outsourcing Amazon Product Photography

Like most busy entrepreneurs, you probably don't have the time that is required to make high-quality photos of your product, and so outsourcing this task to a professional is your best use of time and money. Professional product photographers can produce high-quality images from a variety of angles much quicker, and with professional results getting you to market sooner. Here are four suggestions on why you should consider outsourcing this task:

  • Save Time: Photo shoots and image enhancements can be extremely time-intensive, especially if the product has unique physical attributes, and/or you are not overly skilled in the photo retouching department.

  • Lack of Experience: Focusing on other areas of your business is a much smarter use of your time, such as marketing, sales, and sourcing. Trying your hand at DIY commercial product photography when you don't possess the expertise, know-how, and experience to troubleshoot problems when they inevitably arrive, can lead to frustration and delays in getting out to market ahead of your competitors.

  • Software learning curve: After taking a photo with a camera, there's a lot more to do on the software side for photo retouching and enhancements. It is hard to learn and master that software quickly while you're busy marketing your product-based business.

  • Professional Facility & Tools: Apart from all of the above inconveniences, professional commercial product photographers are worth the investment. With a dedicated facility and expertise, you owe it to yourself and your business to find a reputable studio and expert photographer who will provide you with photos that you would not have been able to produce yourself.

Finished Package Design (Screenshot from Amazon)

Finished Package Design (Screenshot from Amazon)

Travis Duncan Photography | Advertising • Corporate • Motion

Web - www.travisduncan.com

Studio - 573-893-9917
Instagram

Twitter

Protein2o | Who am I?

Shot on RED Gemini 5K

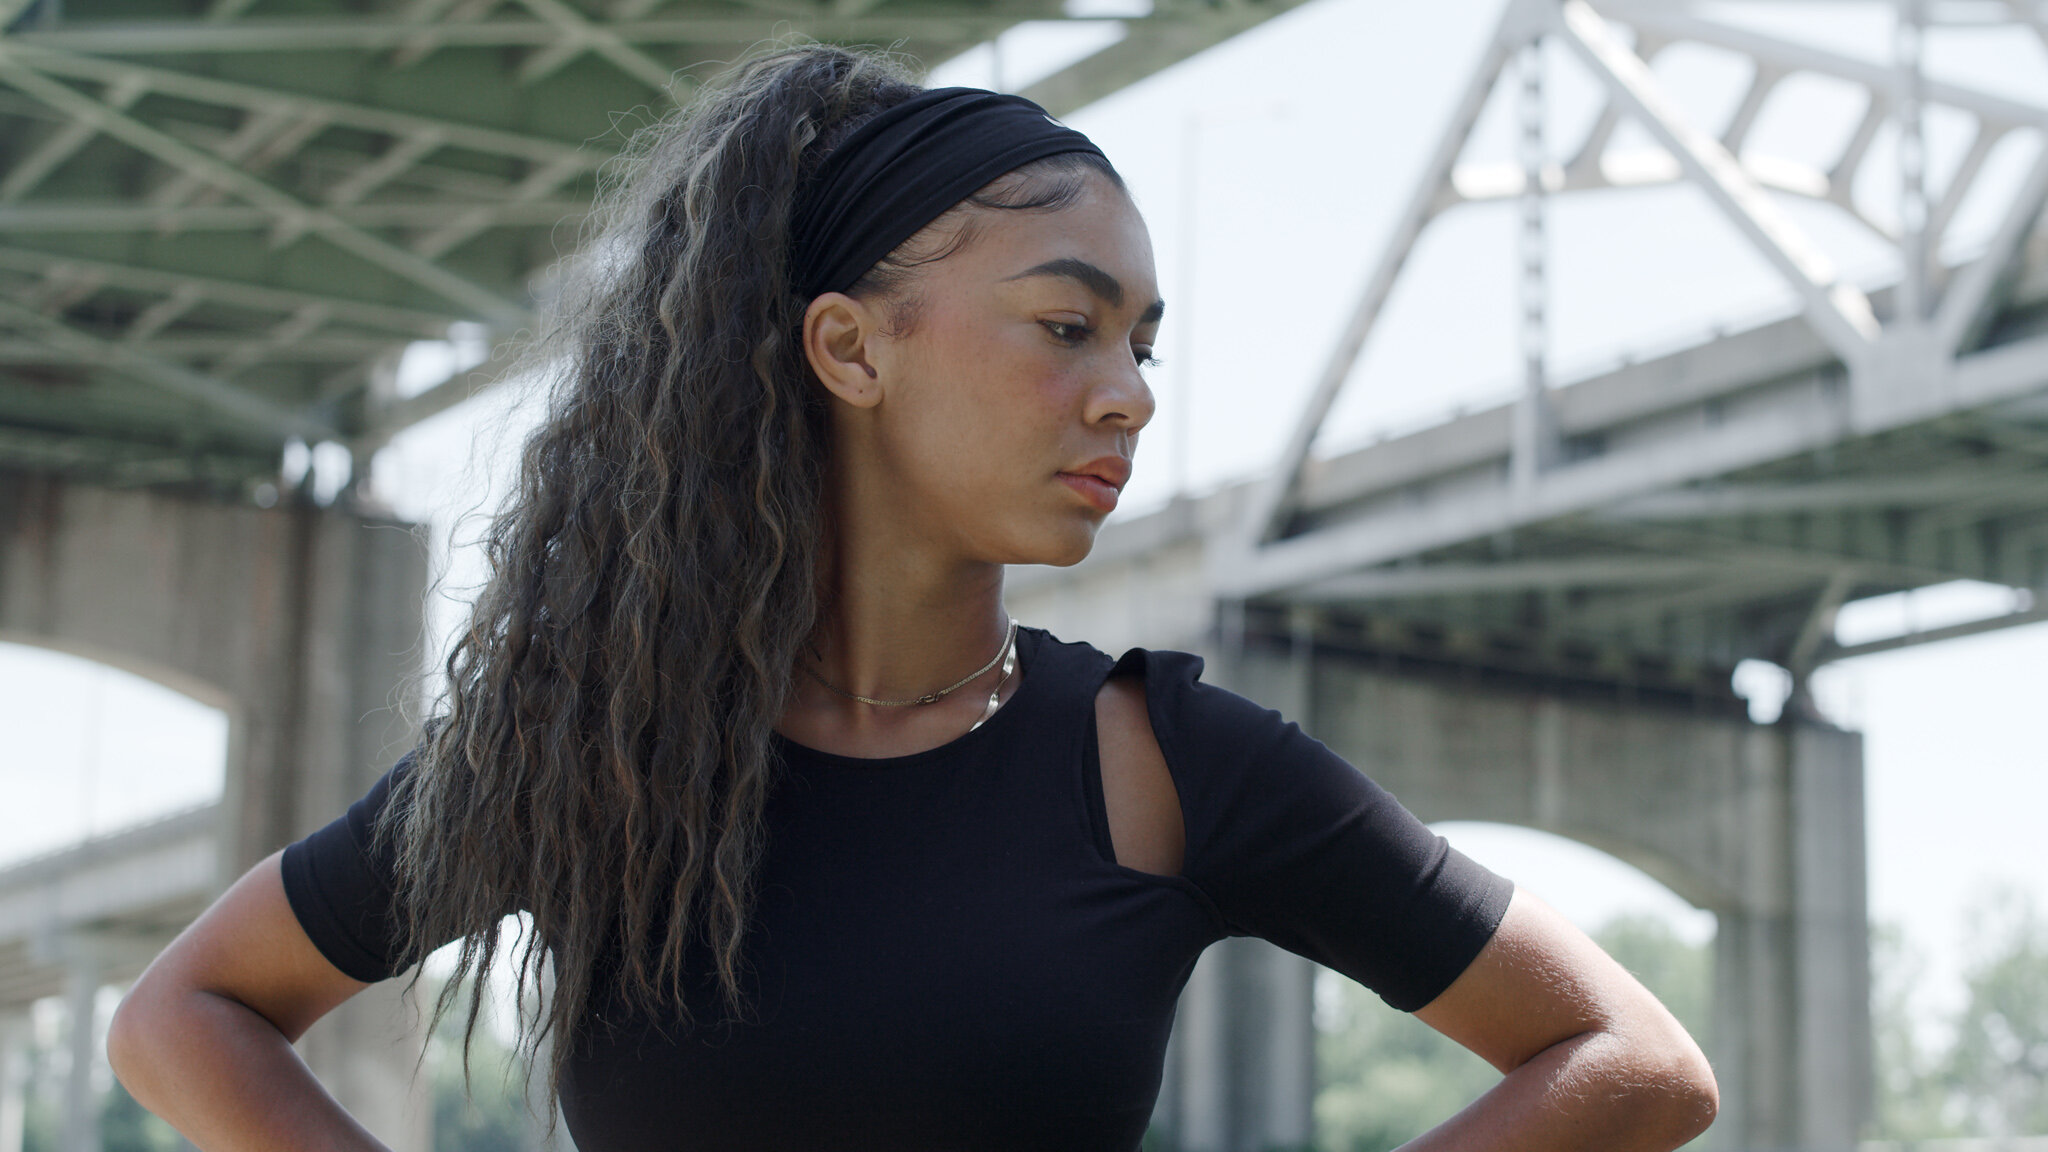
Just wrapped up this spot, featuring our good friend / model / athlete Eden Hoogveld, again - riding atop the latest release of the RED Gemini 5K camera. Our concept this time was a fairly straightforward. A one minute spot, showcasing our talent and the great tasting Protein 2o water. With this in mind, I wanted to create an epic feel that was also gritty and heroic. For a while now, I have been looking for just the right project to collaborate with our talent (back in from LA), and this project was perfect! Also, before I get too far into this post, I want to give a a special shout out to my buddy Don Sisson for all the great behind the scenes photos he took during our shoot. Thanks Don!

Audio Voiceover Work

We started off the project with a very simple script, and brought Eden into the audio suite to record a few lines. She pretty much nailed it in as few as four or five takes, and I love how it turned out once we cut it together with our audio bed. This is actually where the entire project started, which is a GREAT way to work for me personally. After hearing the VO and audio pacing come together, I was able to plan out our shot list and then being to think visually about putting together all the pieces. This is 100% backwards from the way I’ve worked in the past. Typically I get all of the visuals out of the way first, and then deal with audio near the end of the process. I really liked doing it this way, and can definitely see myself applying this logic to many other projects down the road. (All the audio was edited in Adobe Audition using their multi-track feature). Once it was assembled, I output an entirely new track that we could ingest into Premier Pro.

Screen Shot 2020-06-06 at 9.59.44 AM.png
IMG_8479.jpg
Screen Shot 2020-06-06 at 10.21.18 AM.png

Still frame cropped from the S35 Gemini sensor

Crop Factor2.jpg
Cropped.jpg

As for the 5K format size again, I’m still loving it. The form factor and features have so many potential applications in the work I do. Shallow depth of field, wide FOV possibilities, a wide variety of glass options, etc… and editing the footage on my Mac is pretty much a breeze.

Camera Settings, Support and Miscellaneous Tools

CS3A0004.jpg
IMG_7885.jpg

Nearly all of this project was shot at 5K, 24 fps and a few 60 fps, REDCODE RAW 8:1 (RED's compressed RAW format). This project was a 1-day shoot, in a variety of locations. I certainly didn’t overshoot footage this time around as to not tax Eden. If anything I undershot. That said, it’s ALWAYS important to remember the talent when shooting athletic work. Asking them to repeat the same movement over and over can be challenging even for the most fit. It’s easy to get lost in the technical bits and pieces behind the camera, so don’t forget about your talent. Give them lots of breaks, and bring snacks and water to drink.

Tools.jpg

Using my trusty Yakima Big Stack I strapped down a 6 foot step ladder (yep, it works for more than just Kayaks) … but as I found out through social media they don’t “endorse” my method, yet credited me with being a creative problem solver. Anyway, brought the ladder along for shooting high angles but we ended up not needing it. Everything else was pretty simple. Packing a single full apple, 1 C-Stand, some sand bags, my production bag full of odds and ends, and our 4x6 Sunbounce … we were off and running.

Scouting our locations

Just days before our shoot I ran around like a crazy person looking for locations. Fortunately I found four or five spots that I thought might work nicely to show Eden working out. I pretty much alway grab some iPhone shots of those locations to put into our call sheet, or simply as reference photos to help with planning and producing the project. I also use a pretty cool tool called Photo Pills which is great for planning a shoot. I typically use the AR feature for tracking the sun path which helps me figure out when to shoot at each location.

IMG_8494.jpg

IDX and Indi-Pro V-Mount Batteries worked very well, giving us long lasting power, lightweight, and good form factor.

Each brick gave me plenty of uptime, and I’ve gotten into the habit of leaving the camera powered up at all times. The rebooting process takes a while, and when we’re trying to grab shots quickly it really helps to save time on set by not waiting for a camera to power on and off. I think I might have only used 3 bricks over the course of the day.

Still rollin’ with those Rokinon Primes 

As I mentioned in my previous post, I'm pretty new to the world of RED Cinema, and I don't have an unlimited budget for gear. This spot was self produced, and being an owner/operator, I've gone with a small set of Rokinon cinema lenses which so far I’ve been impressed with. I need to do some more extensive testing however, and put them up against some higher end cinema glass in the future. Even using the Rokinon glass, which is VERY affordable, this camera yields a crazy sharp image! This shot was achieved using the Rokinon 50mm f/1.5 prime lens.

My Go-To Rokinon 50mm f/1.5 prime lens

The goal again, was to shoot the vast majority at f/2.8 to f/5.6. We started shooting early in the morning, beginning with warm up stretches and some light running shots. The light was pretty consistent, but moved very quickly in terms of lux. We only used one additional source which was the California Sunbounce 4x6 frame to fill in a bit. The Gemini did a great job again, and I always make sure our color temperature is as close in camera as possible, making grading a bit easier.

A017_C108_0602UB.0000313.jpg
A017_C003_0529MZ.0001787.jpg
A017_C008_0529YL.0000086.jpg

RED Gemini quick set up with our Rhino Slider

I’ve been totally happy with the size, weight, and form factor of this camera and it really works nicely on my old trusty Rhino slider for a small and compact setup that’s easy to move.

CS3A0061.jpg

Every setup was lit with available light, and a combination of the California Sunbounce 4x6 frame

Lighting was from one extreme to the other. Gorgeous and soft morning light, to midday Sun with harsh shadows. We didn’t have the budget, time, or the man power to modify the light much, so the lightweight Sunbounce was our best bet. We could move quickly and easily and get some nice frames. It would have been killer to go full on with some major lighting setups, but again we just didn’t have the budget or time, and I think using raw light gave us that gritty / documentary look I was going for anyway.

CS3A0141.jpg

Looking for f/2.8 - f/5.6 wasn’t tough at all. Tracking my subject gave me some challenges, but I think we came away with some really good results.

Image Quality

I mentioned this before, but I really do love that Adobe Premiere Pro CC that supports RED .R3D files natively without having to install any other software. This project was only a 1-day shoot but it is still nice to know that I can cut the footage right inside the app. Right now my flow is to still edit the .R3Ds natively in REDCINE-X Pro for mostly color balance, exposure, and contrast. Then jumping over into Premiere Pro for cutting and running into very few problems with the files. 1/8th playback is still my go-to, for time-sensitive cuts, 1/4 for QC related work, Full Resolution when paused for color and focus critical work.

A017_C082_05297P.0000000.jpg

Gitzo Flexibility

I’ve gone back and forth on this issue using several different types of support. From traditional video tripods to still photography tripods. I still find myself loving and always coming back to the Gitzo sticks for getting those angles that I JUST CAN’T GET with other systems. It’s lightweight, but incredibly strong and will give me a working height of nearly 9 feet in the air, to just inches above the ground. That kind of flexibility in a run and gun scenario is tough to beat in my opinion.

CS3A0042.jpg
CS3A0043.jpg
CS3A0067.jpg

More BTS

Here we are working in a couple different locations getting a slider shot while showcasing the product, and then below, a stretching shot with the amazing cotton-wood elements blowing through our scene. I couldn’t have planned or produced it better if I tried! Totally magical.

CS3A0143.jpg

An amazing feature that I still love about working with motion cameras from today, is the ability to pull stills for the video with dang good quality. Off of the 5K S35, I’m getting 15.4 Megapixels, exporting out 16-bit TIFF files that are good looking images. This could produce a beautiful 9x16 inch print (without interpolation) at 300 DPI for each frame, though I’ve yet to print anything from them. The potential is exciting, and I can’t wait until I have the time set aside to do some printing for these stills.

Final Thoughts

I love this camera, plain and simple. It’s so easy to use, yet offers MASSIVE pro features and amazing quality right at your fingertips. Eden knocked it out of the park on this one, and Don was a tremendous help on set. Thank you both for your work!

I hope you enjoyed this little blurb, and thanks again for reading!

TRAVIS DUNCAN  |  ADVERTISING PHOTOGRAPHER BASED IN THE MIDWEST.  SPECIALIZING IN: PRODUCTS & ARCHITECTURAL PHOTOGRAPHY, and VIDEO PRODUCTIONS. 

Travis Duncan Photography | Advertising • Corporate • Motion

Web - www.travisduncan.com

Studio - 573-893-9917

Instagram

Twitter


artisanSKIN - shot on RED Gemini 5K

artisanSKIN - shot on RED Gemini 5K

In December 2019, I had the unique opportunity to shoot a new project with a good friend Josh Luttrell, utilizing the latest release of the RED Gemini 5K camera. 5K cameras are certainly not a new thing, but for me this was new, and as much a camera test as actual production. That said, the Super 35 format, resolution, and low light capabilities are significant features for me, as very often, I don't know what challenges to expect from project to project. As an owner/operator, the Gemini checks off many boxes for me, giving me the confidence to take on nearly any situation.

Thoughts on 5K and RED Gemini

IMG_7716.jpg

On Set with the RED Gemini 5K.

RED Gemini 5K. A camera, format size, resolution, and low light sensitivity that is very appealing to me for many reasons. And questions. How's the image quality? The Workflow? What exactly can this amazing camera do? Let's dig in.

IMG_7255.jpg

As for the 5K format size and low light capabilities … In a word, it's incredible. This particular form factor and features have so many potential applications in the work I do. Shallow depth of field, wide FOV possibilities, a wide variety of glass options, etc... Considering the resolution as well, I've found quickly that my close up, mid, and wide shots hold so much richness but also draws on a very film-like smoothness.

A011_C084_01267M.0000126.jpg

This camera can be used in many ways. There is enough resolution and format size to be extremely flexible, and the modularity of the RED system works amazingly well. In the photo below, you'll see the side-mounted monitor option, which was a LIFESAVER working in this extremely tight space. As for framing, on this particular project, there's no cropping, no reframing, no sharpening, just a 5K to a 4K downsample. And to me, I think the frames look fantastic.

Camera Settings and Rigging

IMG_7885.jpg

Nearly all of this project was shot at 5K, 60 fps, REDCODE RAW 8:1 (RED's compressed RAW format). There are also a few clips shot at 24fps 6:1 REDCODE RAW. This project was a 6-day shoot, and I certainly have the footage to prove it. Thankfully the REDCODE RAW compression saved my skin on storage, because RED storage media is anything but cheap. I captured hours of footage each day as Josh worked on various stages of the finishing process. The ISO Rating was mostly 250; however, this was also sort of a camera test, so you'll see shots in the ISO 320-1280 range too.

IMG_7702.jpg

RED Brick V-Mount Batteries have a decent form factor that work very well and provide long lasting power to the camera body

Each brick got me about 2.5 hours of uptime, and shooting days were long. We had roughly 6 days to pull off Josh's regular finish work on this single A-Style (Teardrop shape) Mandolin, with some gaps here and there to make room for Josh to work on his other customer's instruments.

Lens Selection

IMG_37482.jpg

All of the shoot was shot on Rokinon Primes 

I'm pretty new to the world of RED Cinema, and I don't have an unlimited budget for gear. Being an owner/operator, I've gone with a small set of Rokinon cinema lenses that have been performing great. I've compared these lenses to their Xeen counterparts, and for now, I simply can't justify taking on the additional cost of the glass. For now, we'll just keep renting specialty optics when it's appropriate to do so. Even using the Rokinon glass, which is VERY affordable, this camera yields a crazy sharp image! This shot was achieved using the Rokinon 50mm f/1.5 prime lens.

A010_C004_01169G.0003566.jpg

This shot was achieved using the Rokinon 50mm f/1.5 prime lens

One goal for me, was to shoot the vast majority at f/2.8 to f/4. (Though there's a fair amount of f/1.5 and f/2 in there with a couple f/5 shots as well). The light was a bit all over the place. Some of the lights were dimmable on set, but we had a crazy mix of color temperatures from 7000k down the 2800k and possibly even warmer. The Gemini did a great job, and we got pretty close in camera to the correct temperature, making grading a bit easier.

A010_C021_0116W0.0000000.jpg

RED Gemini compact size allows me to move quickly and  position the camera in pretty tight spaces

I had the camera in some rather precarious situations. Literally on the ground looking up a Josh, or having to stand up on a 5-gallon bucket to look down over the shoulder as you can see from some of the images, I used a Rhino slider setup for a couple of shots, which worked nicely with the RED package. It is compact but packs enough strength to move the camera quickly and smoothly.

Lighting the Shop

A010_C026_0116GK.0000032.jpg

Nearly every setup was lit with available window light and practicals, and then 2 Luxli Cello’s Bi-Color units for fill

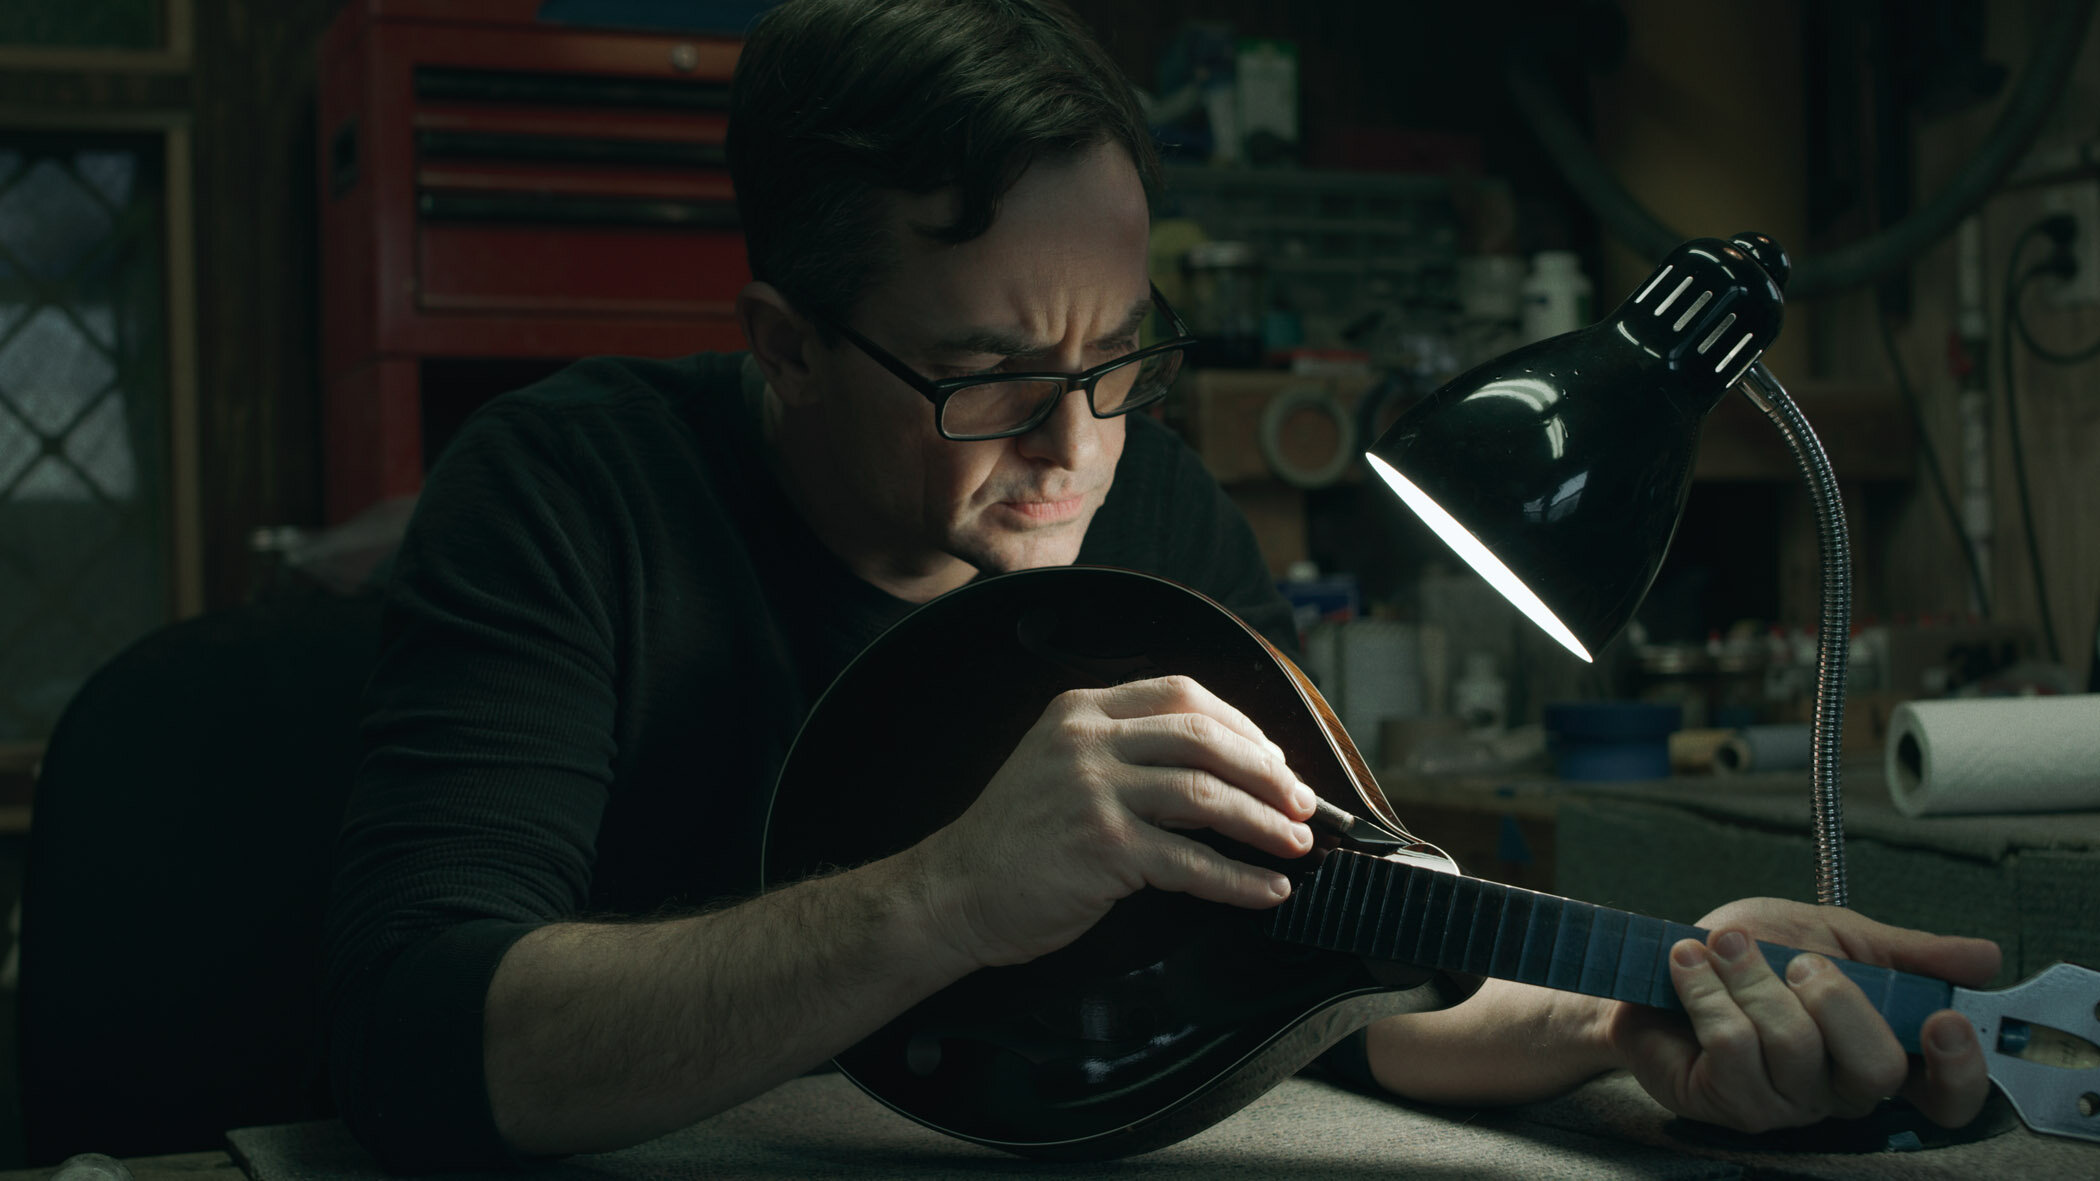
Lighting was tricky. This workshop was a SMALL room. I didn't want to go full-on with some of our more significant instruments, as there just wasn't enough space to go nuts with large diffusion panels. Josh's shop is full of materials and relatively tight spaces. So I tackled this with 2X Luxli Cellos to provide some fill in some of the background and used his desk lamp primarily serving as our key.

A010_C074_0116AK.0000018.jpg

Additionally we used available room light, or practicals. I was mixing these with daylight and the house fluorescents while filming during the shoot. Anywhere Josh went, and I didn't find the light I was looking for in the frame, I set up those little Cellos on Justin Clamps, and it worked out nicely. More or less a documentary look and feel. However, no handheld, all tripod, and a couple of slider shots.  

IMG_7698.jpg

I was mostly aiming for f/2 - f/4. Depending on how we quickly adjusted and positioned the various lights, we were able to get f/1.5 - f/4 if I felt that suited the composition better—focusing mostly on showing Josh's process, and finding creative angles in a minimal space.

Post Workflow

Screen Shot 2020-04-26 at 10.47.59 AM.jpg

Premiere Pro CC layout on my iMac 5K  and Eizo CG276 Displays 

Screen Shot 2020-04-26 at 10.47.35 AM.jpg

I love that Adobe Premiere Pro CC that supports RED .R3D files. This mandolin project was a 6-day shoot with many days of post-production. I edited the 5K HD .R3Ds natively in REDCINE-X Pro, and Premiere with no issues on my Mac even tested them out on my Laptop with very few problems. 1/8th playback for time-sensitive cuts, 1/4 for QC related work, Full Resolution when paused for critical work. Adaptive resolution and GPU support in our NLE software have genuinely changed the way we can work these last few years.

Screen Shot 2020-04-26 at 10.56.02 AM (2).jpg

In leveraging the REDCINE-X software, I executed the bulk of the color grade work. In the screengrab above, you can see a familiar UI that's relatively intuitive yet powerful. The grade was achieved manually in RCX, then individual clip adjustments via Lumetri within Premiere. I'm big on editing with native REDCODE RAW material on projects of this scale. This workflow should become commonplace on larger projects for me going forward, and it feels very natural coming from the world of RAW stills.

A013_C006_01319L_S000.0000000.jpg

Color: How the image looked in camera

A013_C006_01319L.0000000 copy.jpg

Color: Experimental Test Grade

A013_C006_01319L.0000000.jpg

Color: Final Color Grade

I exported several versions at 2K and 4K. What you see on YouTube is a high bit-rate H.264 4K DCI encode. Then, of course, YouTube re-encodes that, and we end up losing a fair amount in translation. My Apple ProRes, and H.265 4K and 5K masters are much better than what you can see via the web at the moment.

A013_C016_0131W9.0000000 copy.jpg

Color: How the image looked in camera

A013_C016_0131W9.0000000 copy 2.jpg

Color: Experimental Test Grade

A013_C016_0131W9.0000000.jpg

Color: Final Color Grade

What you'll see in the final video is about 10% of what I shot in terms of the overall content. I had to leave a few things behind on the cutting floor, like Josh performing an initial coat of stain and then a ton of sanding, but my focus was on the overall process from beginning to end.

Stills from Motion

Screen Shot 2020-02-01 at 11.15.11 AM 2.jpg

This frame grab received no additional post processing

One thing I kept in mind while shooting was the potential of extracting stills from the motion pictures. At 5K S35, we're looking at 15.4 Megapixels, exporting out 16-bit TIF nets a damn good looking image file. This could produce a beautiful 9x16 inch print (without interpolation) at 300 DPI for each frame. There's much potential with that from a motion picture industry point of view. Suddenly marketing stills from productions could easily be printed as very high-quality double-page spreads, used for print ads, billboards, and more. I even spent some time after finishing this cut just sifting through all of the footage, much of which that I didn't include in the final piece, to explore some additional stills processing via Lightroom and Photoshop. The potential here is exciting.

Behind the scenes iPhone grab of the Gemini and Rhino setup

Behind the scenes iPhone grab of the Gemini and Rhino setup

Mandolin Information

Just a few notes about the Mandolin and the general concept for the shoot. As for the concept, I was looking for a somewhat unique story to tell, and have wanted to work with Master Finisher Josh Luttrell for many years. This short film would also be my first multi-day 5K RED shoot, so Josh's work fits the bill perfectly. His instruments have graced such talented musical hands as Steve Smith, CJ Lewandowski, Billy Bright, Baron Collins-Hill, Jordan Ramsey, Dan Bui, Tricia Ann Eaves, and more. This short documents Josh working over six days as he and constructs a gorgeous new finish on a Tom Ellis Custom A-Style Mandolin that features Adirondack Red Spruce on the top, and a premium grade Sugar Maple back. It was a special several days of shooting with Josh in his shop as I've always been a big fan of his work.

A016_C011_0304OC.0000204.jpg

Through this project, I've found the Adirondack Red Spruce wood to be one the most beautiful materials to fashion an acoustic instrument from, and the way Josh finishes them is second to none. His technique in the application of every stage of the finishing work, and extreme critical focus on the smallest details, clearly sets his work apart from the rest. The finish of the wood maintains its character, but the way Josh finishes it brings out a beauty that few would deny.

Final Thoughts

I'm so thrilled that my first 5K shoot was something special and unique like this. Josh has been great friend for many years, and everything came together nicely while filming this short. It's impressive to me that this whole thing was created nearly in 6 days with so much new and amazing technology. Having access to a camera with this level of features feels very liberating, and also provides a level of creative and technical freedom. Starting now begins my journey of capturing and working in 5K and the RED ecosystem.

I hope you enjoyed it and thanks for reading!

TRAVIS DUNCAN  |  ADVERTISING PHOTOGRAPHER BASED IN THE MIDWEST.  SPECIALIZING IN: PRODUCTS & ARCHITECTURAL PHOTOGRAPHY, and VIDEO PRODUCTIONS. 

Travis Duncan Photography | Advertising • Corporate • Motion

Web - www.travisduncan.com

Studio - 573-893-9917

Instagram

Twitter


Good, Cheap or Fast? But you can only pick two!

What does this mean you ask, well ... it simply means there's always (and should always be) a trade-off when your phone rings. Remember, your prospective client gets to pick two!

Cheap + fast = lower quality work

Fast + good = expensive

Good + cheap = not happening anytime soon

So, in the graphic below, I've modified the famous Venn diagram to be in a list form. For whatever reason, it makes more sense in my mind when viewed this way, and it can be applied logicially to just about any artistic field. In the graphic, there are three ways a client can ask for a project to be completed (read on for more explanation). 


Good_and_Cheap.jpg

For Example:

•You could produce photographs or put together a video production for a client, that is of good quality.

•You could produce photographs or put together a video production for a client that has a low price tag. 

•Or, you could produce photographs or video production for a client very quickly. 

HOWEVER, you should NEVER (and ideally never be asked to) deliver work that is ALL THREE. It's not impossible, but it ends up being worse than slave-labor, and it's soul-crushing to try and pull off. I'm not saying it never happens. It's just not fair to you, the creator, if it does. And what’s even worse is, if you take this type of project with those restrictions, you'll always be identified as the guy or gal who will work for peanuts. This is a tough place to move out of if you ever want to attract larger budget clients with more time to produce the real work you want to create. 

This puzzle isn't always straightforward to navigate because often, you might not know where boundaries are between these three. You might think you are delivering work that is both good and fast, that is NOT cheap, but in reality, perhaps you aren't getting paid as much as you think you are. Let's look at some scenarios. 

Scenario 1: Cheap + Good: Let's say you get a call for custom photography or video production services. As you are thinking about your project, you might decide you want a cheap (low cost) option. Also, you think you would like a photo or video production that is of good quality. This scenario is a pretty standard way of thinking. Still, always keep in mind, it will invariably take MUCH more time to deliver this type of product or service.

Scenario 2: Cheap + Fast: If a prospect is asking you to produce a cheap set of photos or videos, fast, excellent quality is most likely out of the question. Having said that, I do have a few tips here for considering. 

I haven't done many "cheap" projects over the years that demanded "high quality and fast" services. However, unfortunately, I think photography can very often fall under this heading. There are many times, however, when we get calls for more simple projects like company headshots. Projects like this are relatively easy for me to turn-around out quickly, with a high level of quality, and I don't have to bill an arm and a leg for these.

With jobs like this, it's essential to be very systematic about your approach so that you can deliver the product or service very quickly and at a high quality. As a business owner, think of the ways you package your products and services and streamline your processes. Doing this, can keep you out of the "not possible" area. 

Scenario 3: Good + Fast: What if a prospect calls you asking for good quality photography or video but has a very short deadline and therefore needs them fast? With this scenario, the odds are against the prospect if they want the project at a low price point. They are simply not considering the time it takes to produce a quality photo or video production at a fast rate. (Don't know what your thoughts are, but I would expect this type of service to be very expensive!)

For prospects wanting quality photography or high-end video productions in a short amount of time, they should have a reasonable budget. Don't be afraid to ask for it. 

Do some market research and ask your clients what matters most to them. Ask your client, "what are your priorities"? Then, you may be able to develop or modify your products and services around what their needs and budgets are. Meeting your clients where they are in terms of their actual needs will increase the experience they have with you, and make them feel like you've delivered services just for them.

The bottom line, as a creative content producer, make sure you are comfortable with what you are required to produce for the available budget and time restraints on the table. Heck, print out this blog article as a guide if you need to! We put our hearts and souls (and many sleepless nights) into our work. When the phone rings next time, make sure you are not afraid to ask to be compensated fairly.

TRAVIS DUNCAN  |  ADVERTISING PHOTOGRAPHER BASED IN THE MIDWEST.  SPECIALIZING IN: PRODUCTS & ARCHITECTURAL PHOTOGRAPHY, and VIDEO PRODUCTIONS. 

Travis Duncan Photography | Advertising • Corporate • Motion

Web - www.travisduncan.com

Studio - 573-893-9917

Instagram

Twitter

PDN Magazine's Annual FACES Competition

So wow! I just opened up my email for a quick peek, only to find out that a series of photographs of mine, just emerged as a winner from the prestigious PDN Photo Annual FACES contest, and I’m over the moon excited about it! 

For those non-photographer readers out there, PDN Magazine out of New York, NY (aka Photo District News) holds annual photo competitions with submissions from all over the globe participating. The judges this year were from Billboard Magazine, ESPN, and National Geographic! Wow, right?!?

So … why enter a competition like this you ask? The idea is for the publication to provide entrants with immeasurable exposure to leading creatives in the editorial and advertising industry, and to give photographers a chance to see how they stack up against industry peers from all over.

Winners' galleries are published in PDN Magazine which is awesome! The additional print distribution goes out to influential photo editors, creative directors and art buyers looking for new and established talent. I have always thought about entering some work into one of their contests, but the competition is always … well, shall we say intimidating, and humbling, to say the least. Some of the biggest names in the photo industry have graced the winners circle in past years, and I’m thrilled to now be included in that amazing company.

Here’s a screen shot from the page …

… and the 2019 judges from Billboard Magazine, ESPN, and National Geographic!

Screen Shot 2020-01-16 at 8.31.50 PM.png

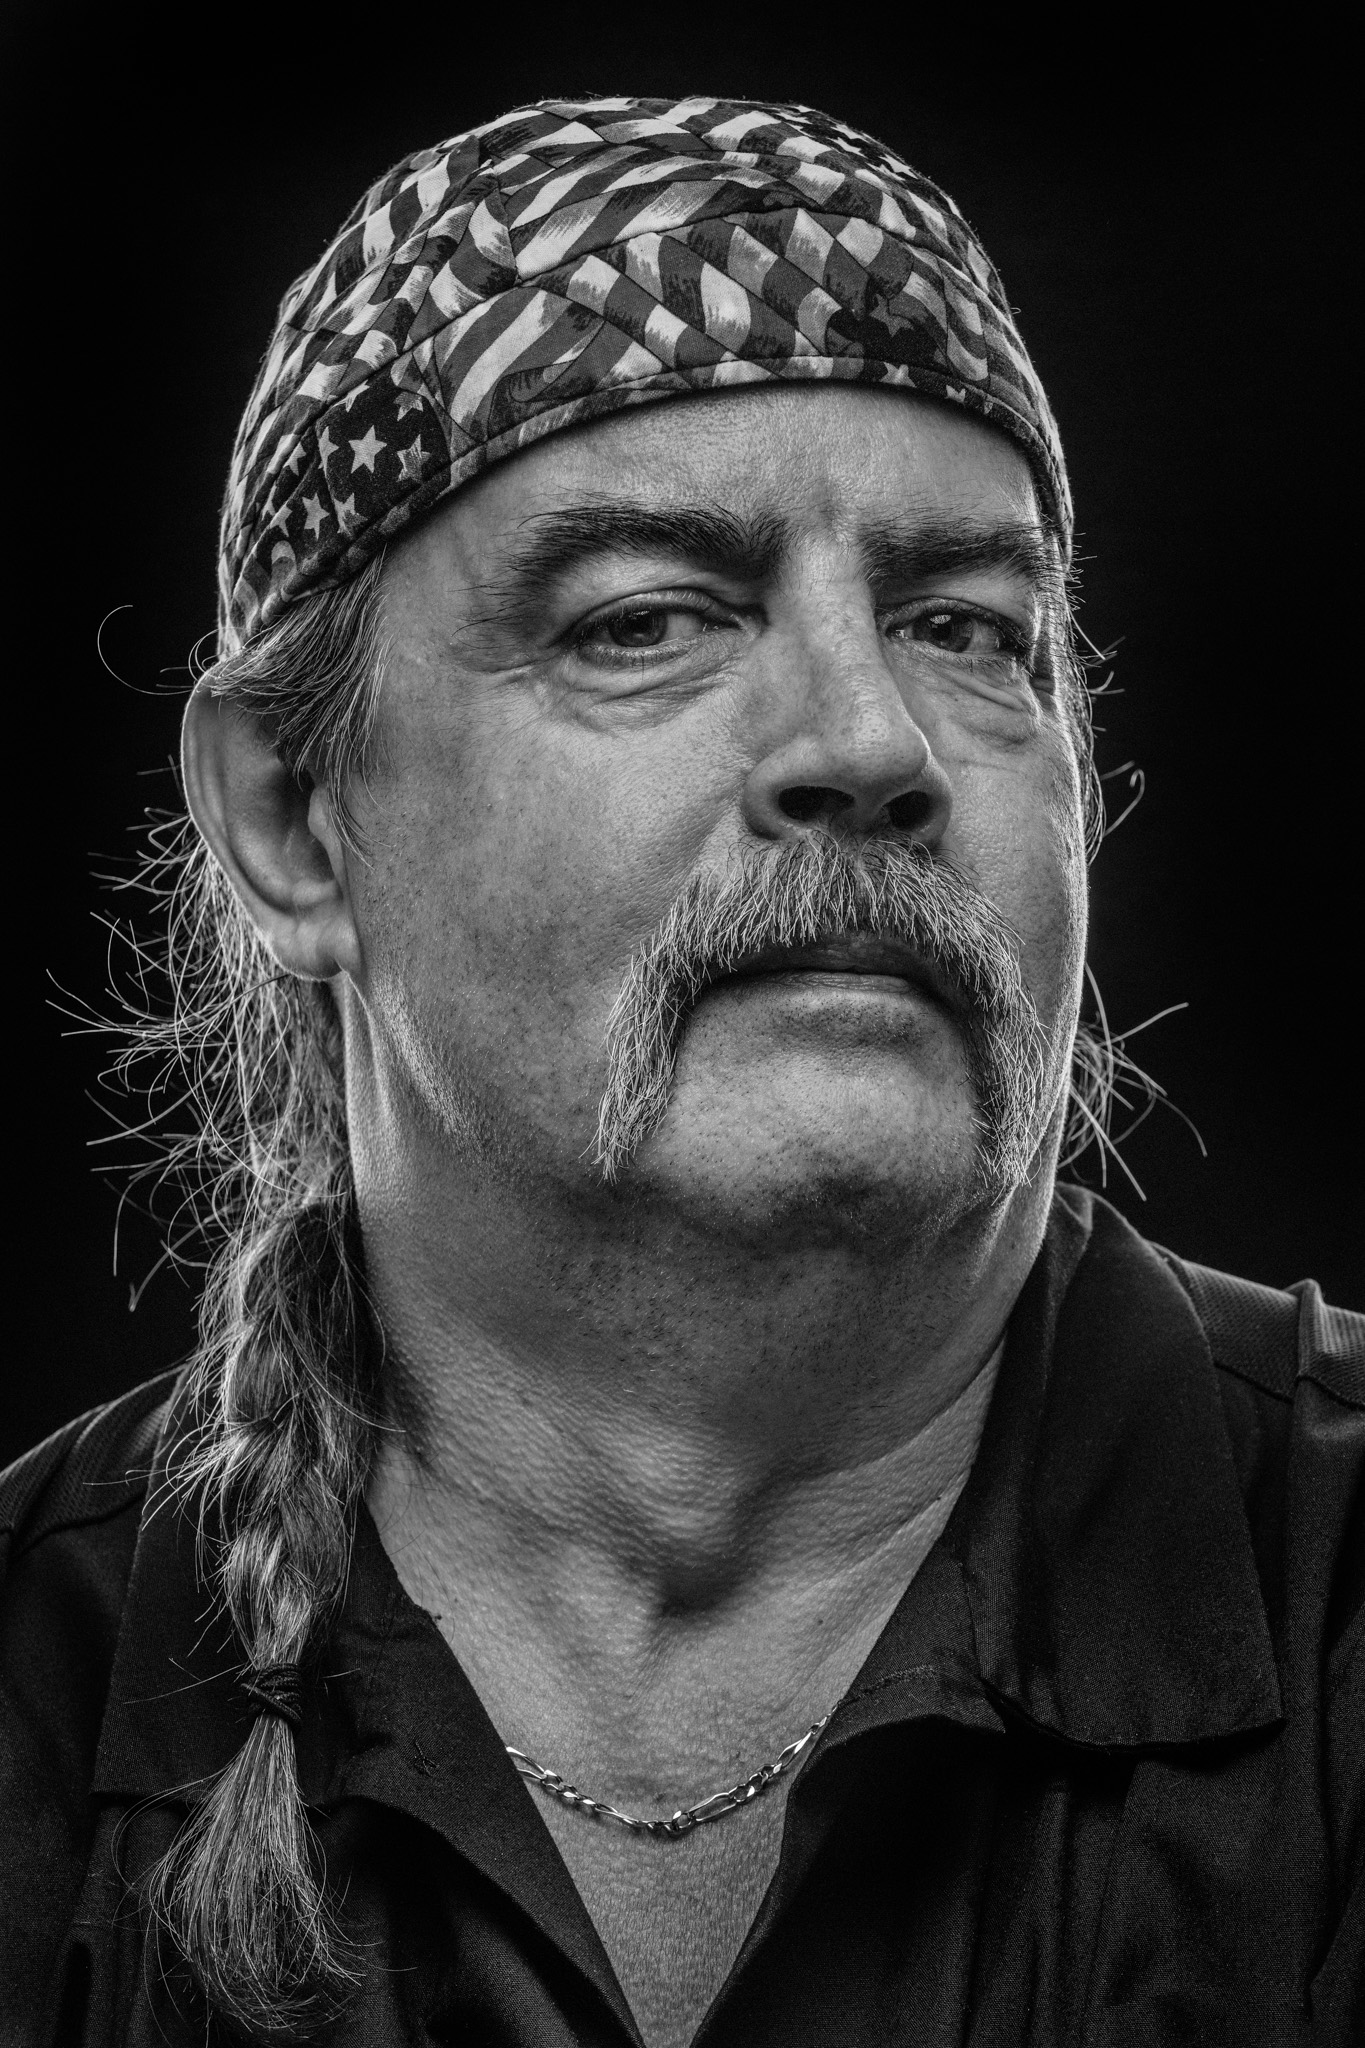
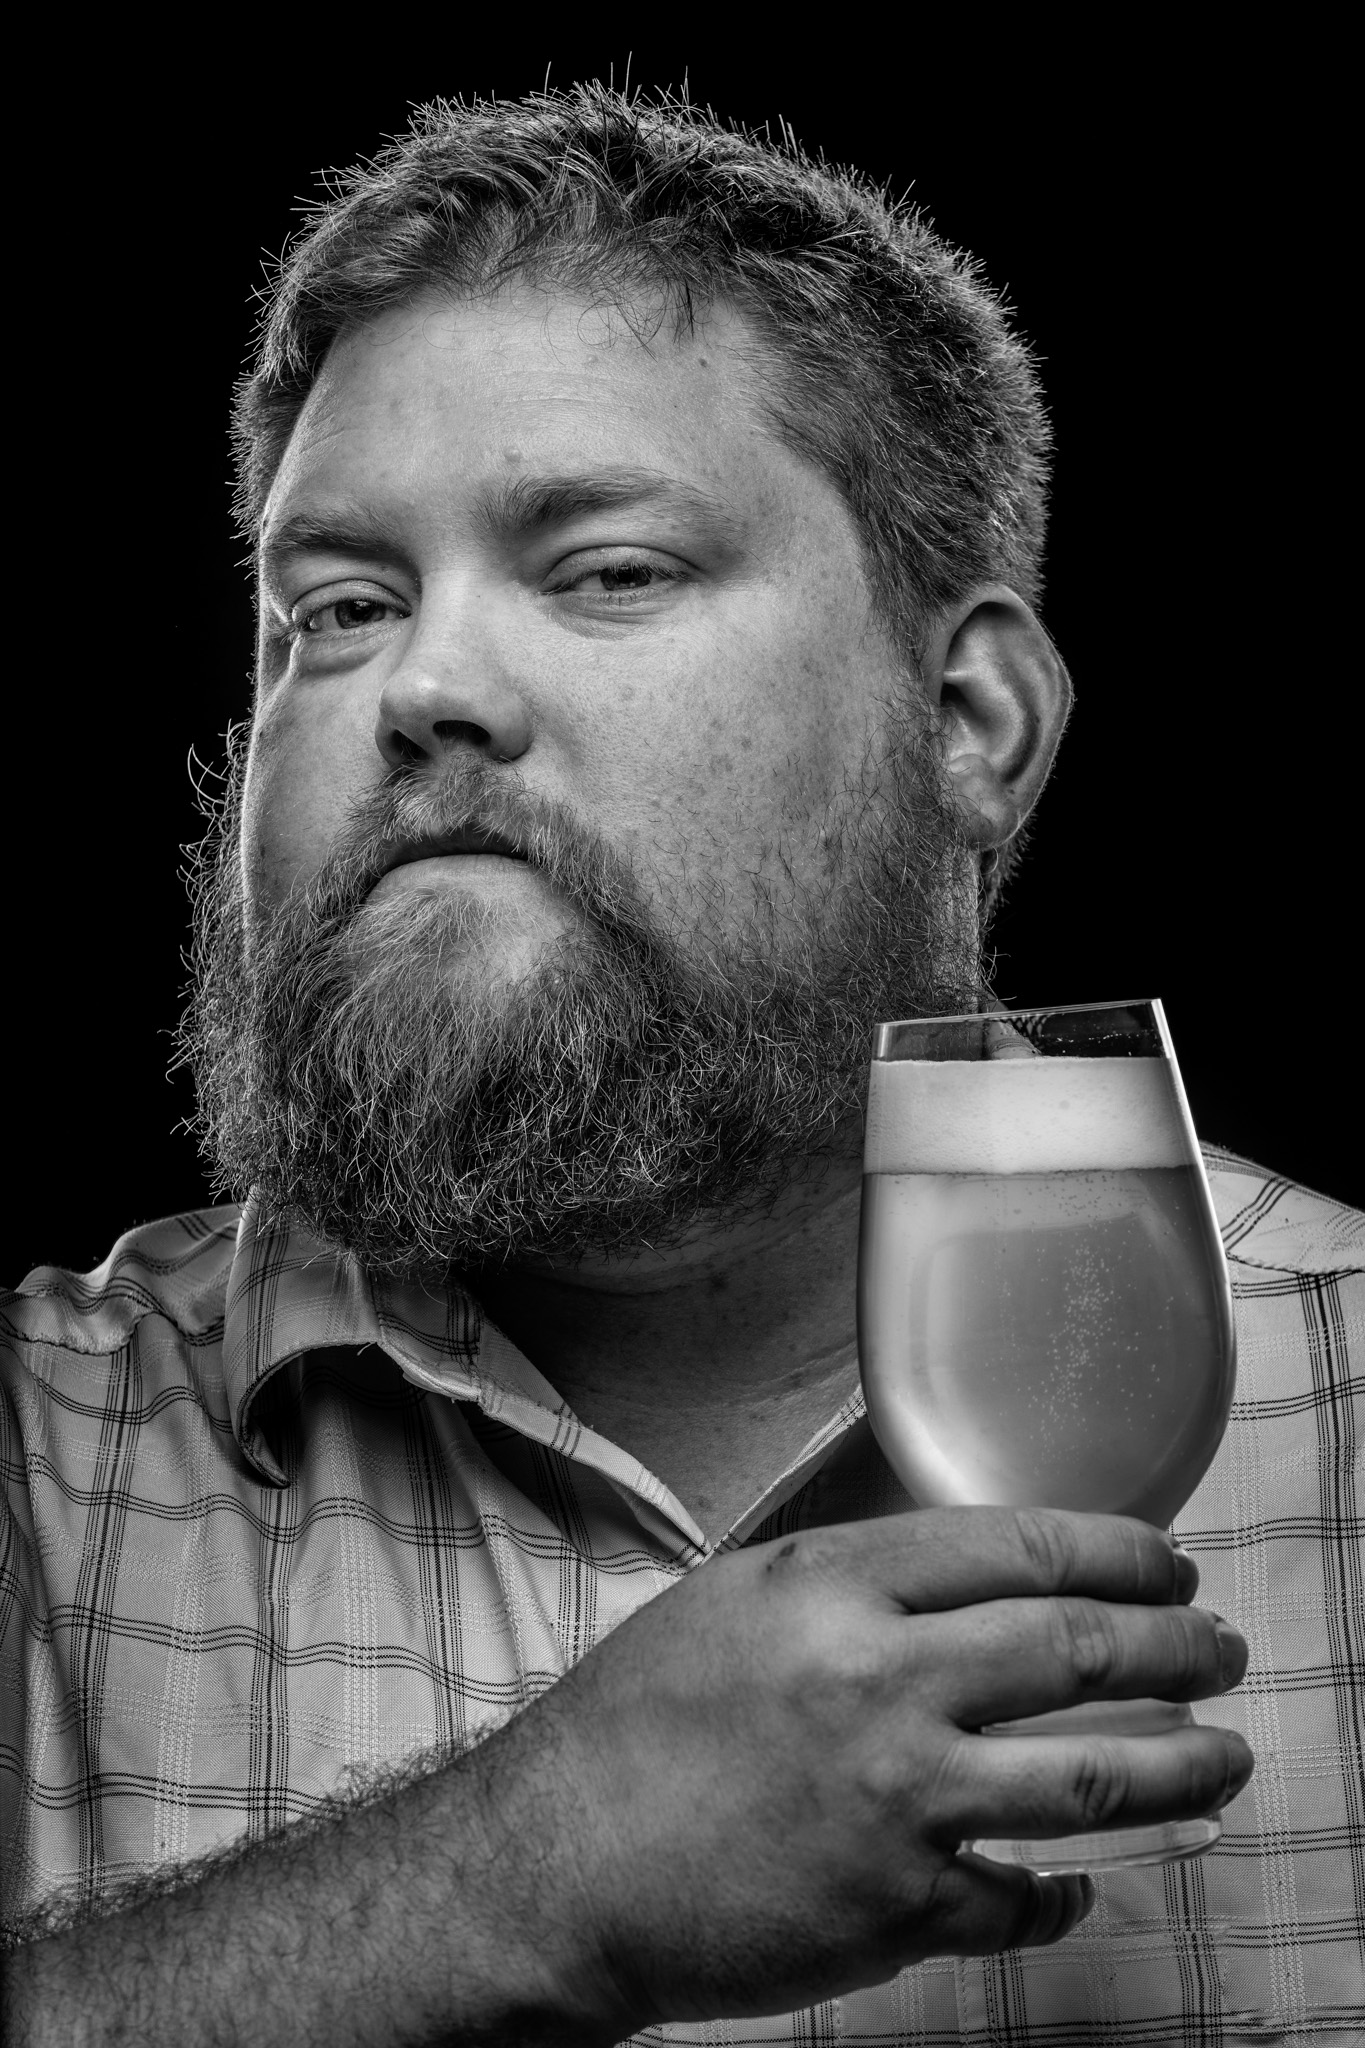
… and here are some of the photographs I submitted from a recent project. The amazing faces you see below are local chefs that I photographed for a local fundraiser. The chefs donate food and their amazing culinary skills for the same fundraiser each year, to benefit the Boys & Girls Club of America.

faces.jpg

As always … thanks for reading, and following along to see what we’re up to next! Cheers! - travis

TRAVIS DUNCAN  |  ADVERTISING PHOTOGRAPHER BASED IN THE MIDWEST.  SPECIALIZING IN: PRODUCTS, PORTRAITS, AND ARCHITECTURAL PHOTOGRAPHY. 

Travis Duncan Photography | Advertising • Corporate • Editorial

Web - www.travisduncan.com

Studio - 573-893-9917

Instagram

Twitter

The Importance Of Good Product Photography

Visual content today, now more than ever, is 40 times more likely to get shared across social media than other content. If you want your product or service to stand out from the crowd, quality photos are essential. Moreover, if a picture is worth a thousand words, imagine the value good product photography will add to your company brand. Great photography adds authority and legitimacy, which in turn, generates trust from the customer.

So excellent product photography is essential. We've established that. However, what type of photos should you invest your time and money? Professional product photographers can range from $125-$200 an hour, plus expenses, post-production, and image licensing. It's certainly not a cheap endeavor, but if you're serious about your product brand, you shouldn't cut any corners with your photography budget. In short, do invest in good photography as a critical component to your e-commerce or print advertising efforts. Do your homework and find a trusted studio, with whom you can clearly outline your vision and goals.

00001.jpg

Again, we know that product photos are essential, but just how important are they? Well, from a recent poll, 22% of online product returns are because an “item looks different than the photos.” We all love an excellent lifestyle photo shoot, but it’s important to remember that representing your product accurately will save you money and time. No one wants to deal with returns and unhappy customers. Even if you’re showing your product in its best light, make sure your photos accurately represent what you’re selling.

78% of product photos today are created on white backgrounds. This fact is due mainly to the prominence of the Amazon marketplace. That means if you’re looking to build a unique brand, there’s room to use bright colors, prints, or lifestyle settings to help differentiate your products. Just remember, if you want to sell on marketplaces such as Amazon, white is mostly unavoidable.

Speaking of Amazon marketplace, E-commerce is more dependent on photography than any other kind of sales channel today because it breaks away from the traditional, physical shopping experience. Consumers cannot just walk into your store, pick up a product, try it on, feel the texture, before making the purchase. Your website needs to convey all the same information through much narrower mediums, primarily photographs, words, and video.

00008.jpg

One important consideration is to create alternative views of each product. Close-ups, underneath, from the inside, looking out, and so on. The more detailed options you can show your potential customer, the more they will understand and see the value of the product, leading to fewer questions and returns. All of those details will also help minimize the risk of purchasing your product, do to a lack of understanding.

Your brand should be aiming to showcase their products to their fullest to potential customers. Today’s web-savvy customers are eager to find out information that will inform and validate their purchasing decisions, such as reviews, social media shares, vloggers, to name a few. Therefore presenting products through quality photography enables e-commerce retailers to cut through the ‘noise’ and add value, legitimacy, and trust.

00023.jpg

Simplicity is key. We want things to look sleek, unobstructed, and easy to understand. A photographic style that supports this thinking also creates a statement that is bigger than just one product. Stripping out the clutter in your photos and focusing on the product not only creates a more versatile image that you can use for multiple applications but can also help elevate the perceived value of your products and your brand as a whole.

Also, do not forget the context of the image and the background. Context is relevant for both product images, where a consistent backdrop allows the focus to remain on the product, lifestyle images showcase your product in real-world situations that consumers can mentally "inject" themselves into the scene. They can see themselves living a similar lifestyle if they only had your product.

In every business there are trade-offs. Understanding product photography pricing, then deciding what you want to invest of your often limited budget, can a difficult decision when you’re just starting. There’s no magic formula and tactics that work for one business might not work for you, and vice versa. Just remember the key here is the age-old mantra, be consistent and be great!

TRAVIS DUNCAN  |  ADVERTISING PHOTOGRAPHER BASED IN THE MIDWEST.  SPECIALIZING IN: PRODUCTS, PORTRAITS, AND ARCHITECTURAL PHOTOGRAPHY. 

Travis Duncan Photography | Advertising • Corporate • Editorial

Web - www.travisduncan.com

Studio - 573-893-9917

Instagram

Twitter

The Top 8 Questions About Product Photography - Answered

Everything you need to know about product photography

Hi guys. Travis Duncan here with a fairly detailed entry that I have pieced together from several different sources including my own experiences of over 25 years in product photography. I am certain this will help you when planning your company’s next product photography project. Buckle up because there's a ton of information here that will get you on the right track with your company's next product photography shoot. 

In this blog post I will answer 8 questions about product photography:

  1. What is product photography?

  2. How can my company benefit from hiring a pro product photographer?

  3. How do product photography service providers differ?

  4. Is product photography really that important?

  5. How much should I budget for my company’s product photography?

  6. What additional charges should I anticipate?

  7. Are there other project costs should I being considering?

  8. What challenges could I expect with my product photography project?

First let me ask, do some or all of these items describe your business?

  • You have a brick & mortar store and sell through e-commerce channels.

  • You want to sell more product.

  • You need high-quality photography of all your products.

  • You don’t know much about product photography.

If you answered yes to these questions then outsourcing your product photography is the right move. But how much will this cost? There is no simple answer. Your business, your products, and your unique image requirements all factor into how much you will be charged for product photography.

Columbia_Eyewear.jpg

What Is Product Photography? 

Product photography is a discipline or division of commercial photography, which accurately and attractively represents or illustrates a company’s product. Usually in an advertising setting, but more and more we are seeing product photography in other venues too. Great product photography isn’t always easy to achieve but can make a major statement on a company’s website. When done correctly, professional product photography will bring a higher level of perceived value to the company brand. The studio that understands the technical challenges in creating professional product photographs, while addressing the clients aesthetic desires and brand messaging needs, is usually awarded the lions share of projects. Interesting and compelling lighting, custom background options, dynamic camera angles, sharp focus (or lack thereof) are all important technical considerations that should be discussed with your studio of choice before the job begins.  

How can my company benefit from hiring a professional product photographer?

I bet you didn’t realize that in general, people tend to remember 80 percent of what they see, but just 20 percent of what they read? Professional product photography can be a large investment consideration, but you also need to think about the end goal of trying to persuade people in to buy your goods or services. The power of an image is hard to ignore, and if you're not including great images of your products, then you could be losing out on some serious sales. 

It isn’t just taking a picture with the iPhone. In fact, that’s the last thing you want to do. With the proliferation of mobile device cameras, many people mistakenly think they can take professional level photographs suitable for marketing or advertising in print, or on the web. Without a full understanding of composition, lighting, and industry tricks of the trade, many people sell their business presentations short with unprofessional images. With a great concept, wonderful lighting, complimentary shadows, no unflattering reflections - a good product photographer can make a seemingly mundane product look amazing! The truth is, the better your products looks, the more products you will sell.   

Protein2O.jpg

How Do Product Photography Service Providers Differ?

There are 2 main types of service providers that offer product photography – local independent photographers and full-service studios.

Local Independent (Home Based) Photographers

In most cities there are hundreds of independent photographers that offer various services to their customers including portrait, event, senior photos, and wedding photography. These photographers very often work out of their home, and therefore can’t offer a full range of services. A very small percentage of these photographers may also offer product photography services.

Why an independent (home based) photographer may be the RIGHT choice for you:

  • There should be a very large amount of these photographers to choose from in your local area.

  • You may be able to negotiate a good rate due to the fact that they are typically one-person operations and may have zero to very little overhead reflected in their rates.

  • The cost of shipping your products to their home will be low (across town as opposed to across the country).

Why an independent (home based) photographer may be the WRONG choice for you:

  • It may be difficult to find an independent photographer who specializes in product photography. Inexperienced product photographers can have a negative impact on both image quality and production.

  • They may lack the studio capacity to handle your project e.g. they may not be able to accept a pallet of product delivered to their location and the space to house your products.

  • They may also lack the studio equipment to handle your products e.g. if your products are large or heavy they require specialized photography equipment.

  • They may lack the expertise, professionalism, and software solutions to handle your photography requirements in a timely manner.

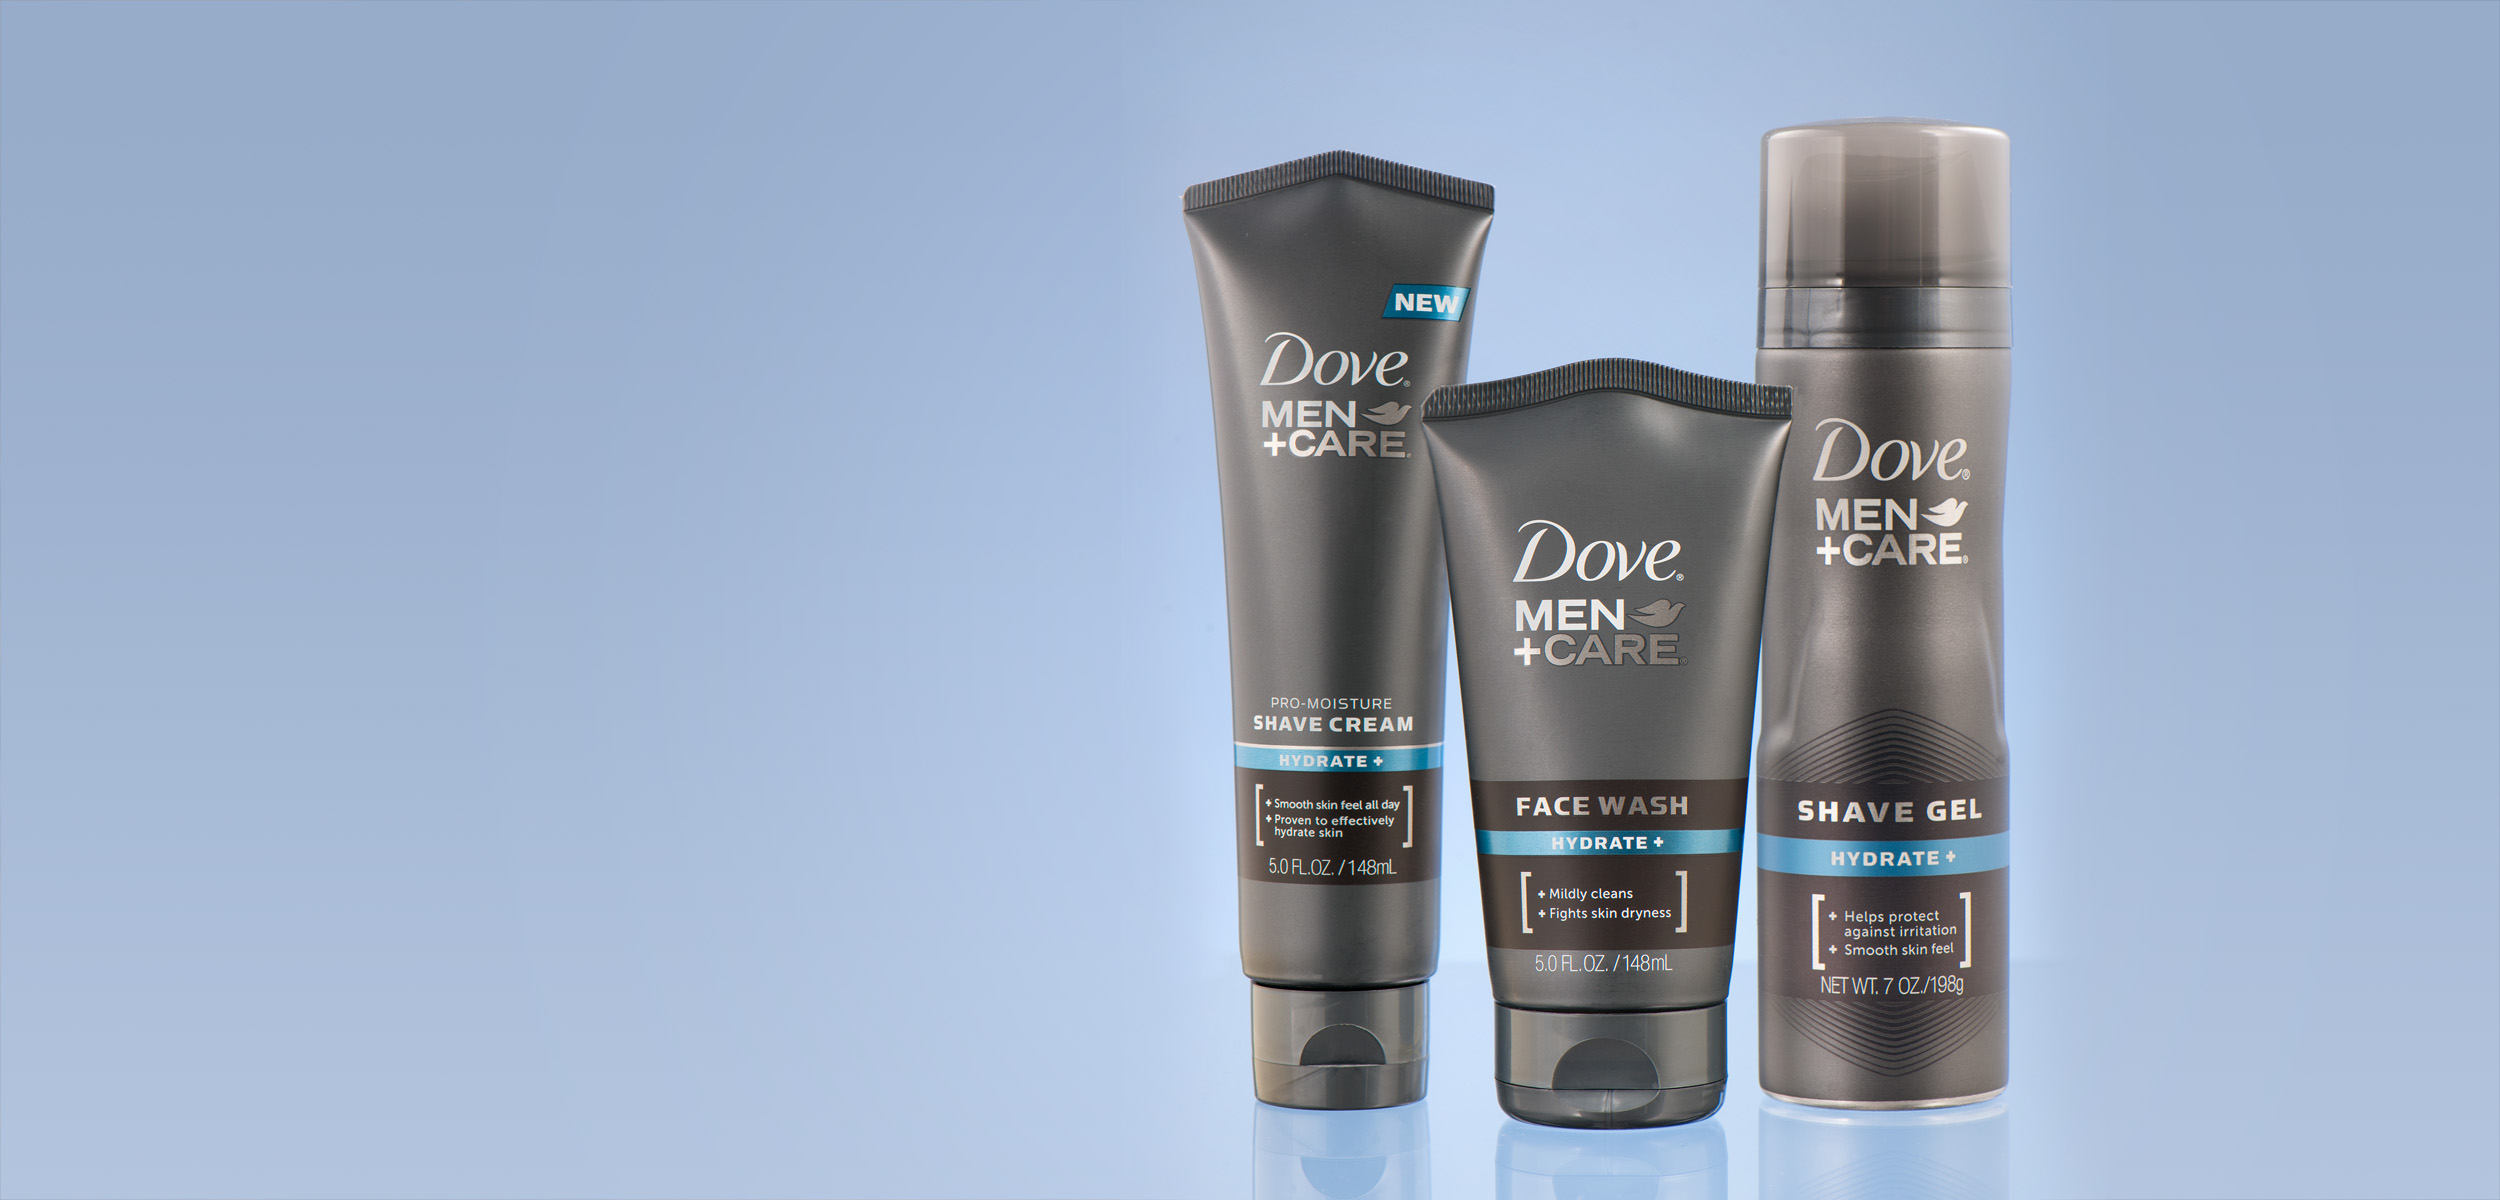
Dove_Mens_Products.jpg

Full-service Commercial Photography Studios

Full-service commercial studios offer a complete range of product photography services and have the capacity and equipment to handle large shipments, large-scale projects, and all nearly all product types. These studios are much less common than independent (home based) studios.

Why a full-service studio may be the RIGHT choice for you:

  • They have the ability to accept large shipments of products delivered by truck.

  • They have the capacity to handle large projects.

  • With software-based workflows they will be able to meet project deadlines.

  • They can handle products of all shapes, sizes and weights.

  • They have the ability to provide both still and 360 images.

  • They provide concise project communication to clients for monitoring progress and to review image quality.

  • Depending on the studio’s geographic location, low costs of doing business can very often save you a ton of money, when compared to what a major metropolitan service area provider would have to charge.

  • The very best modern commercial studios back their work with a 100% money back guarantee, giving you the peace of mind that your project (and investment) are in the best possible hands with little to no risk on you part.

Why a full-service studio may be the WRONG choice for you:

  • If the studio is not in your local area, product shipping costs could be higher with larger sized products.

  • If the studio is not in your local area, site visits could be costly.

Is product photography important?

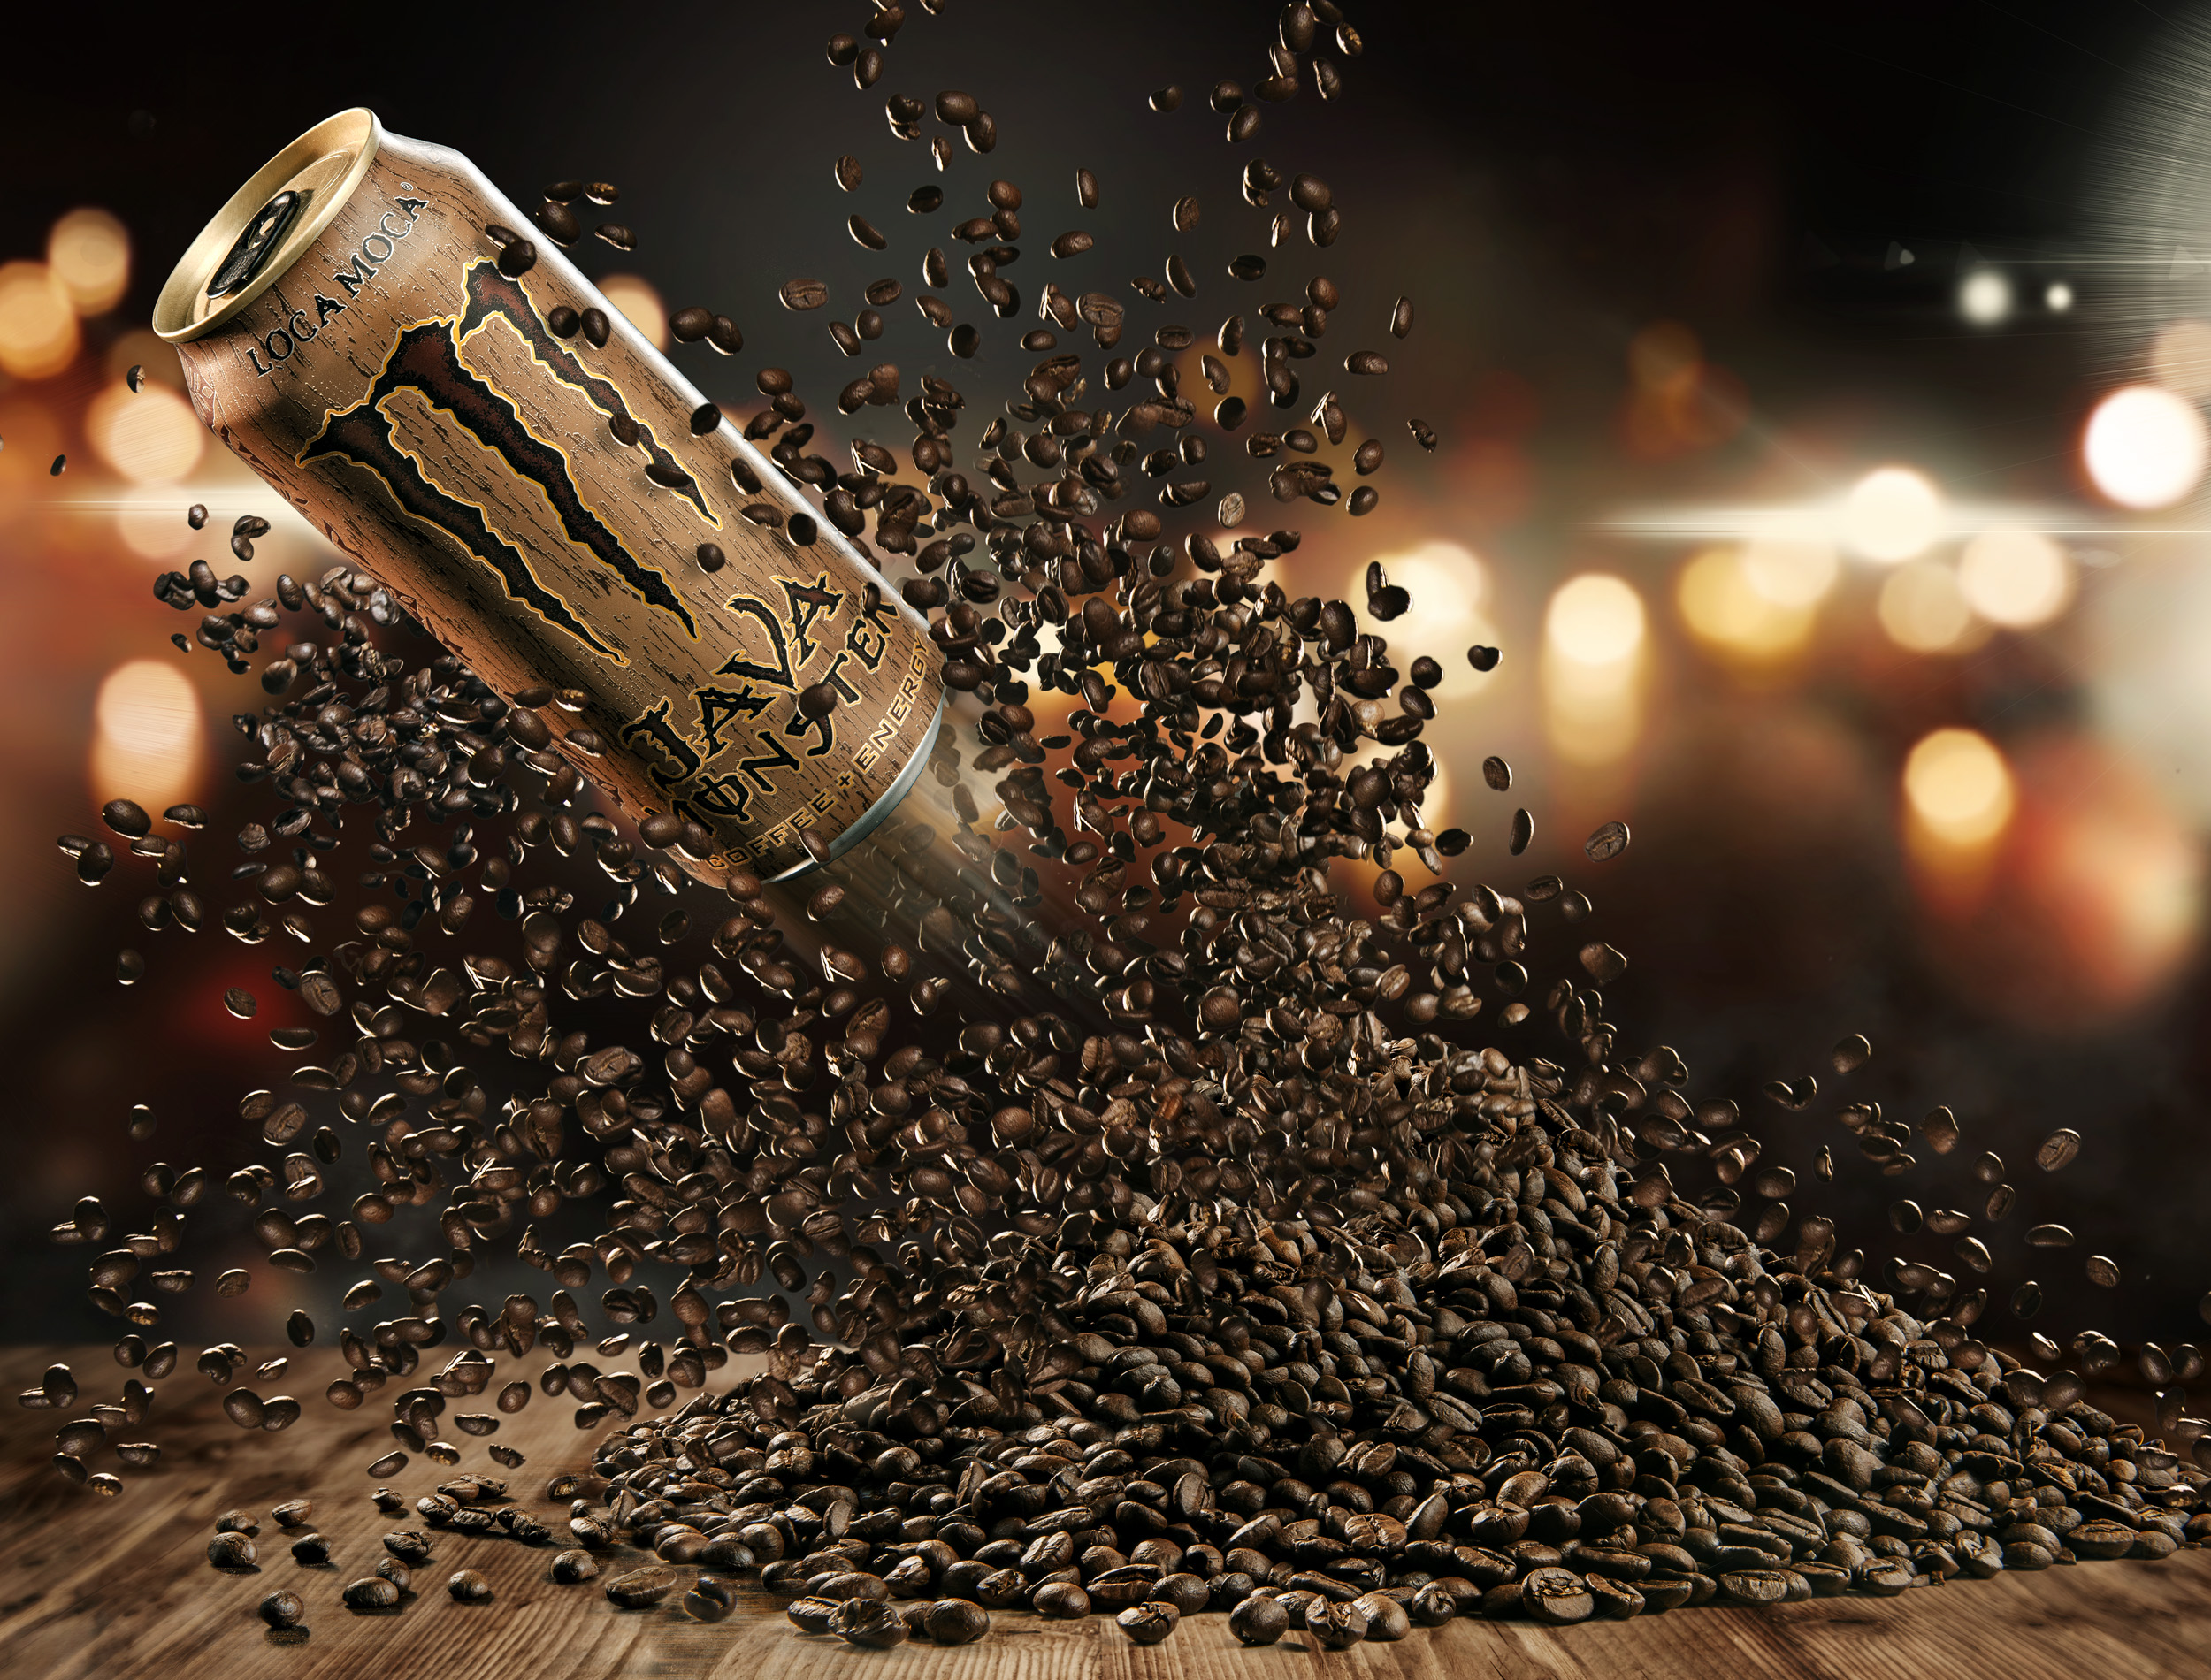
You’ve spent a lot of time and money developing a product that you’re proud of—so shouldn’t your photography show it off? While you might be tempted to scrimp on this part, the simple truth is that more often than not, people shop with their eyes. When they see two similar products, they’ll go with the one that looks best almost every time, regardless of the other information available to them. The significance of showcasing your product or service through high-quality photography is just as important whether you’re placing an ad in a magazine or placing product images on your website. Your photos need to highlight the product features in a method we call “hero shots”. Hero shot images highlight the unique features & details of your product and present it in the most appealing form possible. Very often hero shot photography call illustrate the way a product makes you “feel” just by looking at the photo like the image below. The monster energy drink shot, illustrates the “energy” feeling you get from the coffee component in the product. Cool huh.

MonsterJava_Explosion.jpg

How much should I budget for product photography?

Establishing budgets and costs for producing a professional photoshoot can be difficult. I have had many conversations with small startups who struggled when doing DIY photography and were frustrated when their results were not professional looking and, very often, barely marketable. The actual cost of a product shoot should be amortized over the life of the product. A good, but “expensive” photograph should be used to announce the product in the press. Then used to promote the product on their web site, in trade show materials, in brochures, and direct mail pieces. In other words, that one shot could be responsible for generating thousands of sales! On a per unit basis, that image could end up being a very small part the cost.

How are product photography services priced?

It is important to understand the different ways studios charge for their services. Depending on the details of your project, you may favor one method over another, and always remember to budget in costs for image licensing. (Oftentimes licensing costs are built into the the rates, but don't forget to ask your service provider)

Priced “by the hour or day”

As you would expect, with this method you will be charged a flat hourly or daily rate for the studio’s services. For example, a studio could charge $150 / hour or $1,200 / day for still images and $200 / hour or $1,600 / day for 360 images (because they require more specialized equipment and software).

If your project has specialized image requirements that change from product to product the studio would find it difficult to estimate daily production. For this reason they would opt for an hourly or daily rate. I strongly advise that you do not enter into an hourly or daily rate arrangement with your service provider. It is difficult to budget and there is no ceiling on your costs.

To avoid hourly or daily arrangements I recommend you spend time refining your image requirements to the point where a photographer can understand exactly what images you need for each product category. This way they will be able to quote your project by the product or by the image.

Priced “by the product”

With this method the service provider will charge by the product. For example, at $30 / product for 200 products, the total project cost would be $6,000. With ‘by the product’ projects, the service provider may allow for unlimited images per product. This is definitely an advantage for you but it is also why service providers shy away from this pricing structure – they could end up producing more images than they budgeted for. This pricing structure often comes with 2 conditions:

  • The number of images per product has a maximum, images over-and-above the maximum will be charged at a specified rate. This protects the service provider if the customer requests too many images per product.

  • Each product category will have its own per product rate. For example, a project for a bike manufacturer, pedals and brake parts could be charged at a different rate than frames and wheels. This protects the service provider if some of the product categories are difficult to photograph.

Priced “by the image”

Similar to pricing “by the product”, this method you will be charged a price for each image produced. For example, if the per image rate is $8.00 and you have 100 products requiring a total of 250 images your total project cost would be $2,000.

This is the preferred pricing structure for service providers because:

  • It matches their cost structure – they incur costs each time they capture, edit, QA, and format an image and therefore it is best that they charge by the image.

  • They get paid for every image they produce for their customer (unlike with a flat rate per product regardless of the number of images produced).

“By the image” pricing works fine for you as well as long as you invest the time in analyzing your image requirements. This is not a difficult process, here are the steps:

  • Categorize the products you need images for. There are 2 ways to go about this:

  • Put them in standard product categories e.g. a bike manufacturer has brake, gear, frame, and accessory products.

  • Put them in photography categories e.g. a bike manufacturer has small products (brake parts, accessories), medium products (handle bars, seats, brake parts, rail components), and large products (frames, wheels).

  • Total the number of products you have in each product or photography category.

  • Determine the number of images you require for each product or photography category. In the bike example, for wheels you might want 3 images – a front image of the full wheel, a close-up of the tire tread, and a close-up of the spokes.

  • Total the number of images required in each product or photography category by multiplying the number of products in each category by the number of images required for the category.

  • Add up all the images required in all the categories. This will give you the total number of images you require for your entire project.

Now that you know all your product or photography categories and the number of images required in each category the service provider can come up with an accurate per image price for each category and therefore the total cost for the project. Because ‘by the image’ pricing is fair for both service provider and customer it is the most common method.

RayBan_Ad.jpg

What Additional Charges Should I Anticipate?

Because product photography involves the uniqueness of your products and the specific image requirements you may have, the service provider may need to apply additional charges to your project. Below are some of the common additional charges you should consider when budgeting your project: 

Product Weight

If some of your products are heavy a product weight surcharge may be applied. Heavy products are difficult to handle, often requiring both the photographer and the photo assistant(s) to lift and position the product on the table. This can be awkward, time-consuming, and at times require special equipment like heavy-duty photography tables. For instance a flywheel for a vehicle, it could weigh more than 70 pounds and it takes 2 people to place it on the photography table.

Product Size

Large sized products are also hard to handle and can require a second person to position them on the table. These products almost always require a larger photography table and large camera stand so the camera can get high enough over the table or platform to fit the product in the image frame. Large manufactured parts and product often require a 9′ camera/studio stand for camera rigging, and a large open space of 12 feet or more, floor-based photography platform.

Product Prep

Some products you can take out of their box or packaging and place them right on the table for photography, no prep required. Other products require extensive cleaning or even assembly prior to photography. A photo assistant may be required for this prep work. For the most part, basic product prep is built into the price but if extensive prep is required there could be an additional charge.

Budweiser_Black_Crown.jpg

Product Styling

Many products require styling before they can be photographed. There are many examples of products that require styling, here are a few:

  • Clothing that requires ironing, special folding, and / or pairing with other apparel on a mannequin.

  • Food products that require special layout on a cutting block or countertop and grouped with other food products. Food products can also require special sprays and other methods to make them look as edible as possible and to keep them looking fresh on set.

  • Products where the packages are reflective or they have inconsistent shapes. In these cases the photographer may need to move the contents around within the package to get the right shape. In extreme cases, the contents of the product will be removed and the package stuffed.

Product Layout

If your products take time to lay out on the photography table and this time has not been factored into the initial image price then there may be an additional charge. Here are some examples:

  • Toys that have many components that need to be arranged in a specific way for the image.

  • Industrial products like engine gasket kits that can have as many as 100 pieces that need to be laid out in a particular pattern prior to photography.

Trek_Ad.jpg

Set Construction

Some products cannot be photographed effectively unless they are displayed in a setting. Some sets are basic and some are elaborate. Home décor and furnishing products are great examples of products that require sets e.g. a kitchen, bedroom, or bathroom set. Sets can be time-consuming to build and photographing sets takes much longer than photographing products on a table-top.

Lifestyle Photos & Product Photography Using Models

In essence, lifestyle photos are images showing a product being used or in action. For example, a person wearing sports apparel and working out, or a vehicle with specialty rims and tires parked or in motion. These images can require special scenarios and people. The cost of lifestyle images depends on the people, sets, and scenes required. Lifestyle shots also help inspire your customers to purchase and make them feel like they “need” to have the product in their own personal lives. This is because you are showing your product in it’s natural habitat—the way they are intended to be used. You are setting up products in a visually appealing way to help consumers make a decision to purchase from your store. With Lifestyle photos, it is important to be thoughtful with your styling, propping and location choices. 

Below are some examples of strong Lifestyle photos, entrepreneurs could pair with the other product photography images to better illustrate the product.

It’s fairly easy to imagine what it would be like to wear the apparel, fitness watches or accessories on a future vacation, during the upcoming season or to a specific date. This at least helps customers see how the products are worn, how they fit, how they scale to a human body, etc. Depending on what you’re selling, simple can actually be better!

CrossFit_KettleBells.jpg

Lifestyle photos help potential customers visualize the product in their own life. Once they picture themselves wearing or using your product, it gets a lot harder to say “no” to buying it. If you want to go the extra mile in selling your products with lifestyle photos, try pairing items to encourage additional purchases.

Lifestyle photos usually involve people, like models or celebrities, as a way to showcase how the product can fit into and enhance the consumers life. It's very appealing to people to see someone they know, or recognize a face that is associated with a particular product. There is a lot that goes into planning a product/lifestyle shoot using models, where micromanagement or a good producer may be needed to help create the perfect picture. With so many different people involved in a photo production such as this, it means everything to get it right the first time.

0052.jpg

Specialty Images

In order to capture specific image views the studio may be required to change their normal camera / lighting setup, and use different and specialized equipment. It takes the photographer time to setup for these images and therefore an additional fee may be applied. The best example of these charges are close-up shots of specific aspects of your products like a connector, knob, switch, or area on the product that displays an important feature or function. For these close-up shots the photographer will need to adjust their lights, change lenses, and possibly add a specialized flash to the camera for additional lighting.

Group Images

You may have products that you want photographed together. For these images the photographer will need to prepare multiple products (unpacking, cleaning etc.) and lay them out on the photography table. Additionally, the photography for group shots can take longer than single shots. Expect additional charges for group product shots.

Are there any other costs I should consider?

Yes, and now that you have a good understanding of how product photography charges work you need to consider the costs of preparing and shipping your products to the service provider and returning them to your business.

Consider the costs of the items below:

  • Producing a list of products you need photographed.

  • Pulling the products from inventory.

  • Preparing the products for shipping to the service provider’s studio.

  • Shipping the products to the service provider’s studio.

  • Returning the products to your place of business from the service provider’s studio.

  • Re-packaging products where the package was damaged during photography.

  • Returning the products to inventory.

These are real costs to your business and must be factored into the overall cost of your product photography project.

Challenges in Product Photography

There are several challenges in the world of product photography. Products that are notoriously difficult to photograph can be transparent objects, translucent containers, plastics & glass, highly reflective or refractive (metallic or glossy surfaces), and also products that are white, black, or have extreme contrast. Again, a well trained and highly experienced studio will have the necessary skills and tools to tackle all of these challenges and to represent your company’s product without selling a false bill of goods.

Utilizing large studio strobes, scrims, reflectors, specialized lenses, rock solid camera support and a plethora of other studio tools, almost any type of product photo can be created in a modern commercial studio. In addition, most professional product studios will also handle the daunting and time-consuming ‘post-production’ tasks for just about any project. From culling extraneous images, custom retouching, compositing, cropping and many other photo enhancements, the modern day commercial studio can handle just about any need that you have with your product photography shoot. Last but not least (I’ll state this again) - the very best commercial studios back their services with a 100% money back guarantee, giving you the peace of mind that your project (and investment) is in the best hands with little or no risk on your part. 

TRAVIS DUNCAN  |  ADVERTISING PHOTOGRAPHER BASED IN THE MIDWEST.  SPECIALIZING IN: PRODUCTS, PORTRAITS, AND ARCHITECTURAL PHOTOGRAPHY. 

Travis Duncan Photography | Advertising • Corporate • Editorial

Web - www.travisduncan.com

Studio - 573-893-9917

Instagram

Twitter

Boys & Girls Club of America | Promo

Advertising Photography | Black & White Portraits

Hey guys & gals. Travis Duncan here again. Wanted to share a new project that I shot recently for the Boys & Girls Club of America. I gotta say that I'm really proud of it. Every year I collaborate with the B&G's Club to create a series of photographs of our local chefs, winemakers, and brewmasters to help promote their annual fundraising event for the club. This year I opted for a simple black and white headshot, but with a twist. The idea was simple. Clean black background, with a small pencil-line highlight halo, all the way around our subjects. The rest was all about expression and the character. I love the outcome and hope you enjoy taking them in.  

_8509429-Edit.jpg
_8509186-Edit-2.jpg
_8500018-Edit.jpg
_8509152-2-Edit.jpg
_8509664-Edit.jpg
_8509517-2-Edit.jpg
_8509550-Edit.jpg
_8509552-Edit.jpg
_8509524-2-Edit.jpg
_8509589-Edit.jpg

Thanks for stopping by and taking a quick look ... also ... drop me a line in the comment section below! I would love to hear from you!


TRAVIS DUNCAN  |  ADVERTISING PHOTOGRAPHER BASED IN THE MIDWEST.  SPECIALIZING IN: PRODUCTS, PORTRAITS, AND ARCHITECTURAL PHOTOGRAPHY. 

Travis Duncan Photography | Advertising • Corporate • Editorial

Web - www.travisduncan.com

Studio - 573-893-9917

Instagram

Twitter